PreProduct can run headless outside of a regular Shopify or BigCommerce storefront. This means your brand can accept pre-orders from a website other than your website. For example, a WordPress blog, affiliate site or headless e-commerce store.
If you’re running a headless e-commerce store using something like Shopify Hydrogen with lots of different products on pre-order, then you’ll need to follow the Headless e-commerce store instructions. If you just want to take pre-orders for a couple of products from a site other than your Shopify/BigCommerce storefront, for example a landing page. Then follow the Landing page (static – specific product) instructions.
Adding the PreProduct snippet #
Headless e-commerce store (dynamic – any product) #
1. Add PreProduct’s <script> within your <head> tag (unless your site subscribes to the Shopify Script Tag API)
<script type='text/javascript' async src='https://api.preproduct.io/preproduct-embed.js'></script>2. To integrate PreProduct into a headless store, add the below data-attributes within your add-to-cart <button ... > tag.
You’ll need to dynamically populate the data-starting-variant attribute value with the relevant Shopify/BigCommerce ID.
<button
  id='add-to-cart'
  data-native-pre-order-btn
  data-starting-variant="{{Shopify variant ID here}}"
>
  Add to cart
</button>
(If you’re developing on localhost, then PreProduct won’t be able to infer the shop domain. To resolve this, add data-domain="mydomain.com")
Once the above is integrated, you can manage which product is or isn’t on pre-order from the PreProduct app. Although of course you can make changes to the pre-order flow to best suit your setup; feel free to check out the developer section of our documentation.
A note on SPAs #
PreProduct has MutationObservers that should update the pre-order/atc button as the page changes. If this doesn’t happen, then you can run the window function PPretry() on location change.
Example for Shopify Hydrogen
// import useEffect and useLocation if not already imported
import { useLocation } from '@remix-run/react';
import { useEffect } from 'react';

function PageContent({i18n, ENV, errorContent, additionalHeadTags}) {
  const location = useLocation();

  //  add useEffect to run PPretry() on every page change
  useEffect(() => {
    if (typeof window !== 'undefined' && window.PPretry) {
      window.PPretry();
    }
  }, [location]);

  // ... rest of your component ...
}
Landing page (static – specific product) #
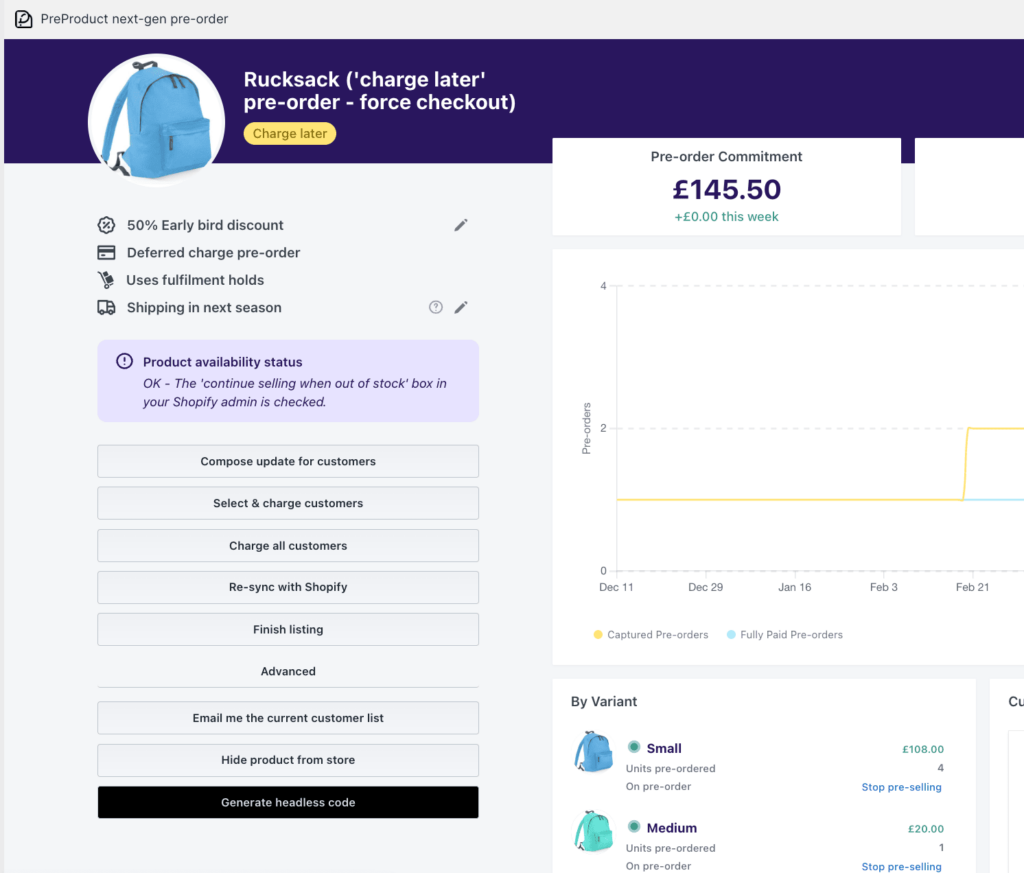
1. Navigate to the PreProduct Dashboard and select the pre-order listing would like to generate a headless code snippet for.
2. Click the ‘advanced’ button on the left-hand side and then the ‘generate headless code’ button.
3. PreProduct will generate a snippet of code for this product that can be copy-and-pasted on to any webpage, allowing you to load a pre-order button and take pre-orders.
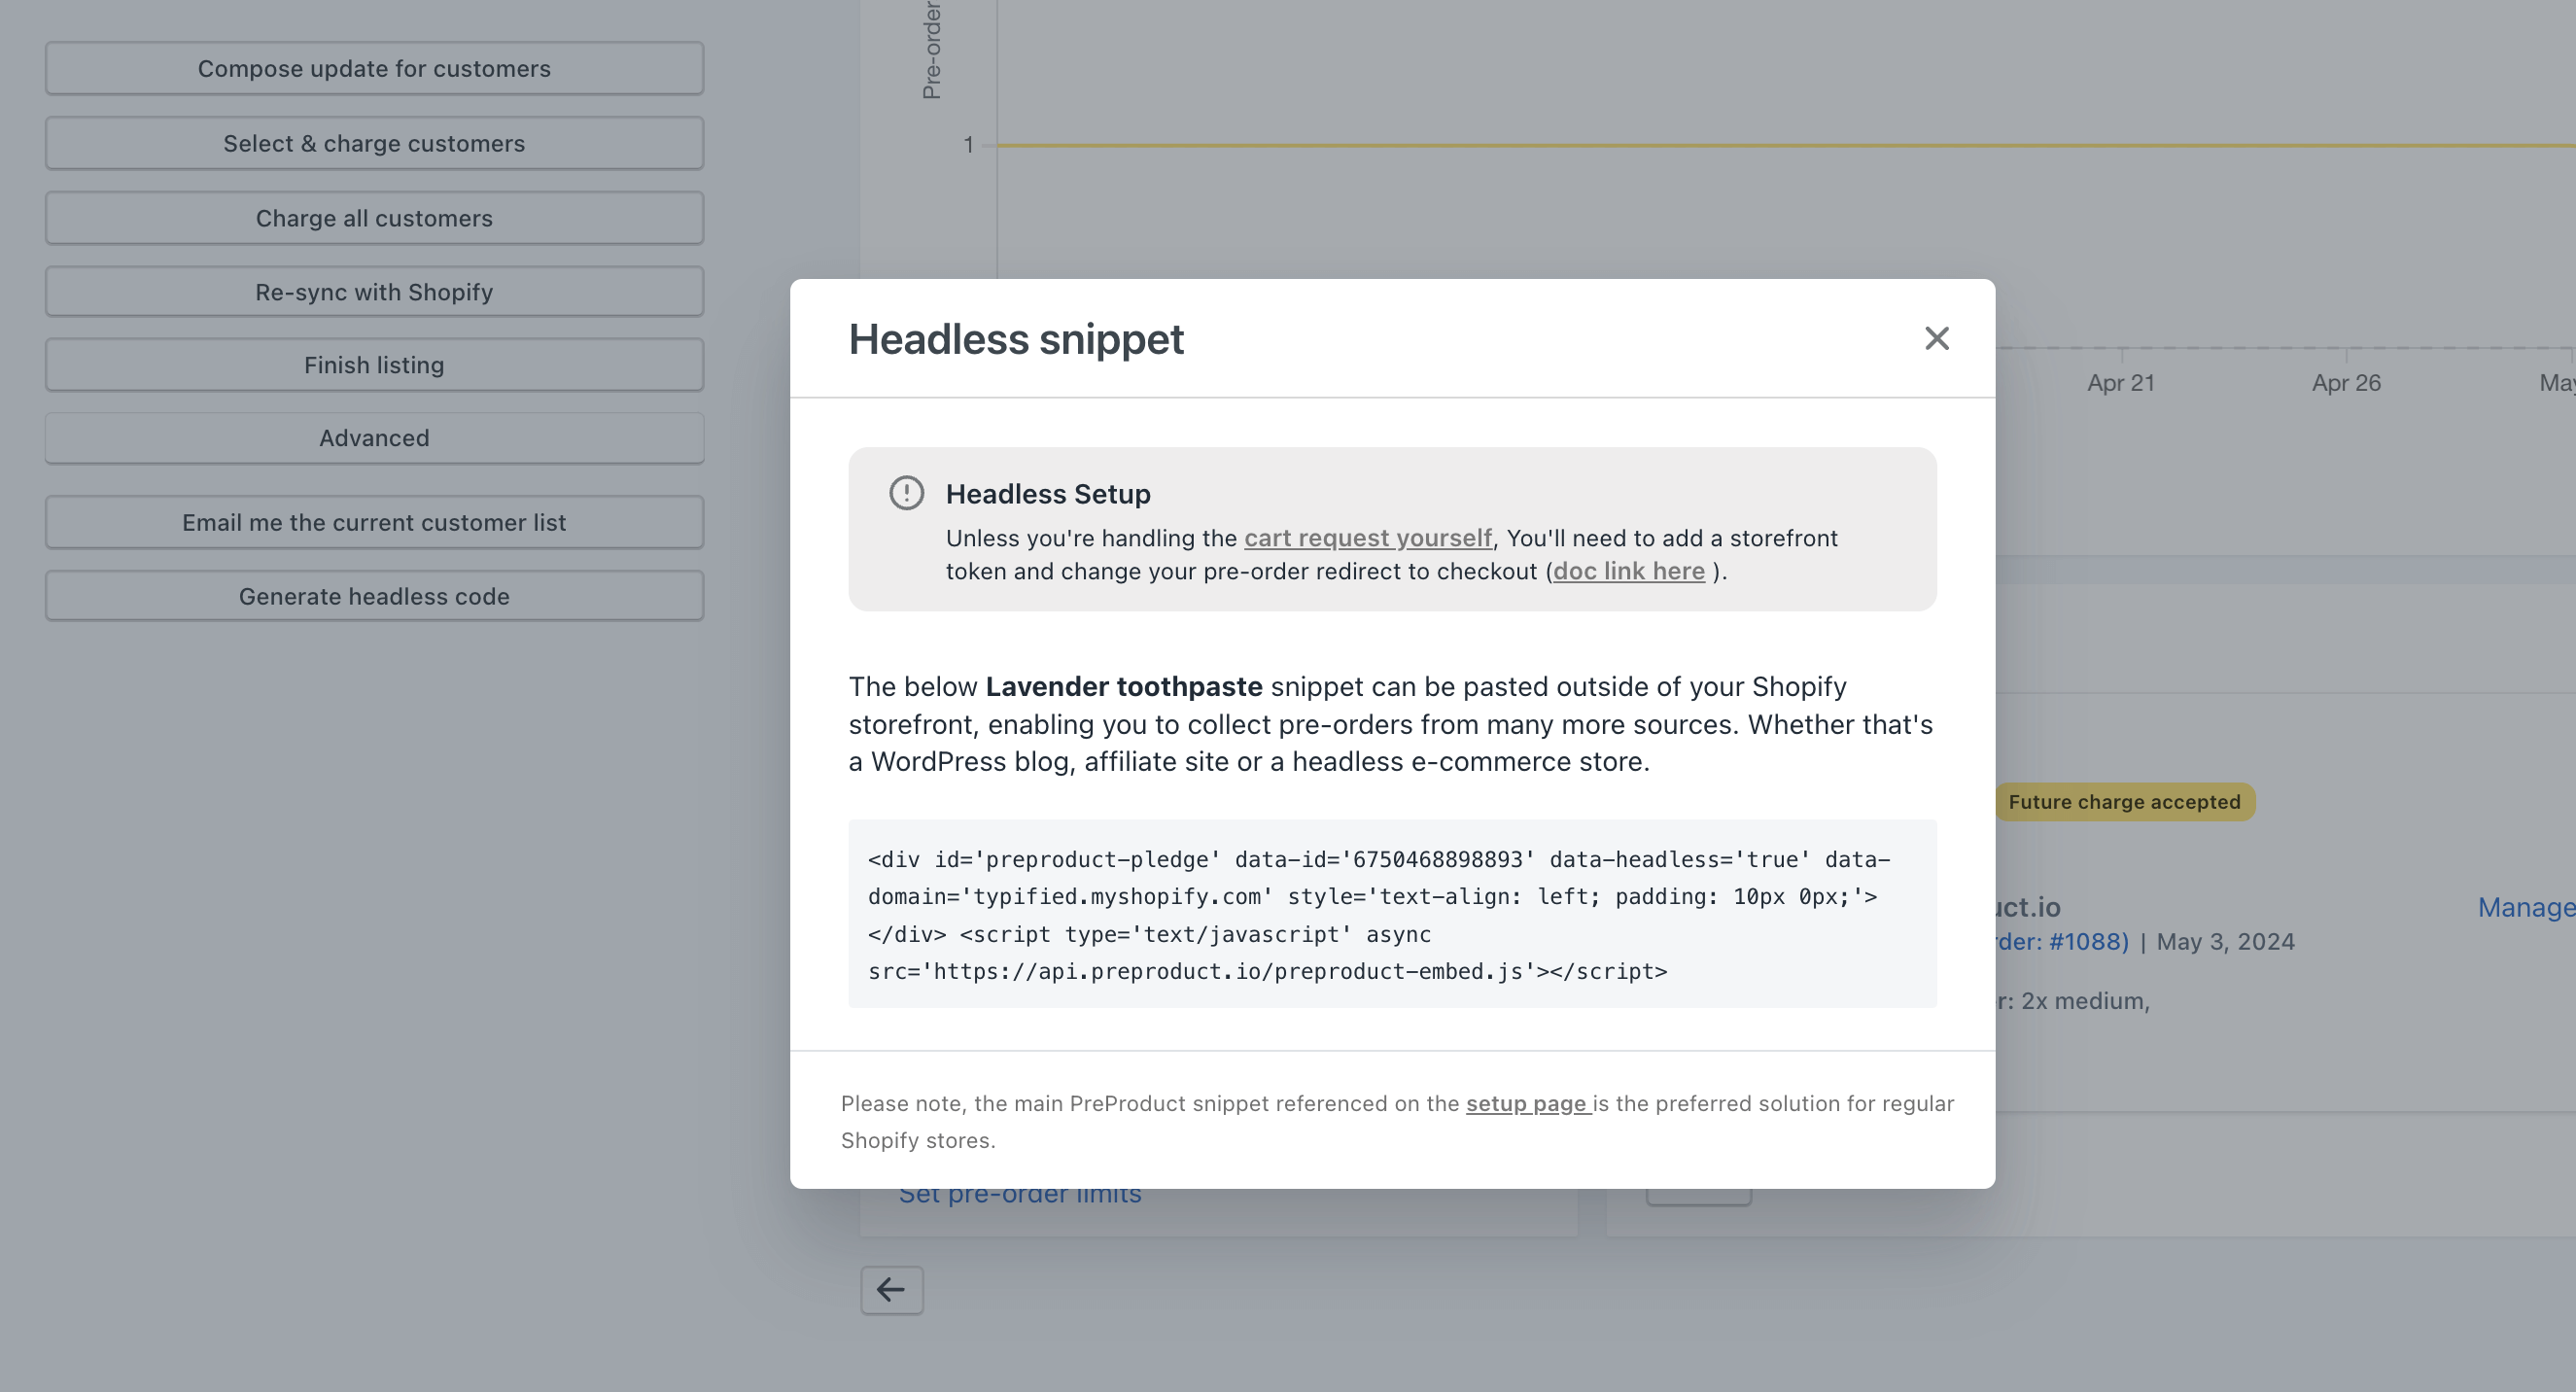
Ensure you test this thoroughly on your live site. Please note this code snippet is designed for non-Shopify sites. The standard PreProduct snippet is the preferred method for regular Shopify stores.
Activating ‘headless mode’ in PreProduct #
For PreProduct to take pre-orders from outside of a standard Shopify storefront, you’ll need to change PreProduct’s pre-order redirect to one of the isolated redirects (as the regular Shopify cart won’t be available on non regular Shopify stores)
We also recommend you activate the Headless Shopify integration from PreProduct’s ‘Integrations’ screen, so PreProduct can display helpful information throughout the app.


