Shopify waitlists are software applications or platforms that are designed to help merchants handle product and variant waitlists, and send stock alerts to customers when items are back in stock. They can also be used for pre launch, to generate buzz, grow demand and capture potential leads.
You can improve inventory management as well as boost sales by collecting a list of interested customers prior to receiving stock.
This guide will explain the reasons you might implement a Shopify waitlist, as well as how to make sure it’s successful. We’ll also touch on how to choose an app and how to set it up.
Key Takeaways
- A Shopify Waitlist can help Shopify stores grow their customer base, increase customer loyalty, manage inventory and drive sales growth. It can also be a useful technique for a new product launch.
- Selecting the right app is essential.
- Implement a waitlist strategy that can be improved and optimised over time. To do this you’ll need to setup integrations with your main email marketing tool, so you can leverage segmentation and personalization strategies.
The Power of Waitlists for Your Shopify Store
Waitlists can be a win-win addition to your Shopify store, if you’ve currently got live out-of-stock product pages on your storefront. By letting customers know when their chosen products come back in stock, you’re marketing to the ‘converted’, and this can encourage customers to complete a purchase.
Customer Retention and Loyalty
Waitlists are a great way to nurture loyal customers, increase customer satisfaction and retention. When products are unavailable, customers can join the product waitlists in order to get early access when it returns into stock. This sense of special treatment from early access, can help sales increase and by streamlining the waitlist experience, casual shoppers may be more inclined to purchase.
Inventory Management
Waitlists can be great tool by providing valuable data on your Shopify store products which aids in making informed choices for inventory management as well as product selection.
By reviewing this valuable data, you will be able to understand highly requested products better so they can be properly stocked according to demand.
This ensures there won’t be any overselling issues as well as preventing frustrating shopping experiences for buyers or inadvertently training shoppers to look elsewhere. Having a soundly-managed stock flow has the power to heighten customer commitment plus increase overall profits too.
Through more advanced techniques like referral marketing you can motivate individuals to recommend products to their friends, by offering them an exclusive incentive, such as securing a prime spot at the head of the waiting lists.
Sales optimisation and capturing intent
Waitlisting can be an important factor to help increase sales. Allowing customers to join waiting lists for out-of-stock items, as well as for new products pre-launch, is a huge buying signal. And one that you can and should take advantage of. Collecting customer interest will allow you to specifically market towards these potential customers, growing hype and converting this interest into sales, as well as assisting you to grow your customer base.
Choosing the Right Shopify Waitlist App
The Shopify app store has many different Shopify waitlist apps available for Shopify store owners. So when deciding which app to utilise for your Shopify store, it’s important to look into features, pricing and user reviews.
Essential Features
When you analyze a Shopify waitlist app, it is vital to ensure it has the following essential features:
- Customer registration – Easy registration process for customers to join the waitlist, that captures all the details you need.
- Notifications – Automated notifications via the method you choose (email, sms etc).
- Customer engagement – Marketing features to allow you to engage with customers, and generate excitement.
- Analytics and reporting – Insights into customer behaviour and preferences for better decision-making regarding future product selection.
- Customization options – Important to allow you to customize the join waiting list button as well as the notifications/emails sent to customers.
Pricing and Reviews
When selecting a Shopify waitlist application, cost is an an important factor and one that can indicate to you the the level of support and extent of the features the app may offer.
App reviews also offer insight on the quality of service and other stores experiences using the app as well as positive and negative aspects of the app, so you can make an educated decision about which waitlist app best suits your Shopify store.
Top Shopify Waitlist Apps to Boost Sales
For merchants seeking to boost sales and improve inventory management, we’ve compiled a short list of some of the top waitlist apps in the Shopify app store that you can utilise in your online store.
Each application provides their own exclusive set of capabilities and benefits – from tracking who’s on your waiting list to automated emails when products become available – meaning it’s really important that stores find which suits them best before investing in any platform.
Appikon ‑ Back In Stock: Overview and Benefits
Appikon ‑ Back In Stock app states that it helps you automatically notify customers when previously out of stock products become available. Highlights of this app includes; Automatic back in stock notifications & back order reminders via email and 100% customizable SMS and Signup form is compatible with all themes.
Krtbite: Back in Stock|Restock
Krtbite: Back in Stock|Restock app states that it creates the out-of-stock & price drop waitlists to see products in demand. Highlights of this app are that they allow alerts/notifications for back-in-stock alerts, price drop alerts, abandoned cart alerts and is also fully customisable.
Setting Up Your Waitlist
Below is a step by step guide for setting up a waitlist app on your Shopify store:
- Choose a waitlist app from the app store.
- Install your chosen waitlist app: click the “Add app” button on the app’s page in the Shopify App Store. Follow the prompts to install the app on your Shopify store.
- Configure the app: access the app from your Shopify admin. Configure the app settings, including appearance, notification preferences, and integration with your store.
- Enable product waitlists, in the app settings, specify which products or variants should have waitlist functionality enabled. This is typically done by selecting products in your Shopify product catalogue.
- Customize the waitlist: customize the appearance and functionality of the waitlist to match your Shopify store’s branding and design. You can typically adjust colours, text, and notification templates.
- Customer sign up and notifications: set up the customer sign-up process. Ensure customers can easily join the waitlist by clicking a button or filling out a form. Configure the notification system to send alerts to customers when waitlisted items become available.
- Testing: Thoroughly test the waitlist functionality to ensure it’s working as intended. Place test orders and have friends/family join the waitlist to experience the process from a customer’s perspective.
- Promotion and communication: Promote the waitlist feature to your Shopify customers. Use various marketing channels, such as email, social media, and on-site banners, to inform them about the benefits of joining the waitlist.
- Monitor and optimize: Keep a close eye on the performance of your waitlist. Monitor customers engagement, conversion rates, and the impact on your sales. Make adjustments based on data and customer feedback.
Managing and Analyzing Shopify Waitlist Data
Monitoring waitlist sign-ups, conversions and engagement with the collected data enables businesses to make informed decisions when it comes to inventory management, product offerings and marketing.
The analysis of this info allows one to identify trends regarding high demand products, enabling companies to adjust their stock levels as well as sales approaches accordingly.
The usage of said data can facilitate more personalized email campaigns designed for particular audiences. This is really powerful when putting together a successful strategy to boost both user interaction and commercial transactions rates.
Leveraging Referral Waitlists
Referral-based waiting lists are an effective way to boost customer loyalty and engagement, while generating new leads.
By incentivizing customers for sharing your products and to invite friends to join the list, you can generate a buzz that attracts potential customers interested in what you offer.
To ensure success of this approach, strategies should be employed to motivate referrals as well as promote the referral program itself.
Integrating Waitlists with Email Marketing Campaigns
One way to engage and encourage customers which will result in more sales is by combining waitlist data with email marketing. Segmenting the subscriber list based on this information gives you an opportunity to personalize emails for your audience, using promotions or updates that are specific and relevant.
Below some of the techniques of segmentation are highlighted and how it can be used in personalized campaigns as well as providing helpful tips on best practices when connecting waitlists with email marketing initiatives, to assist with a seamless integration.
Segmentation and Personalization
Using waitlist information to segment and customize email marketing efforts is an effective way of heightening customer engagement as well as boosting sales.
By distinguishing your customers into smaller categories on the basis of their past activity, interests or place in the queue, you can refine what content reaches each group for maximum resonance. Including details such as a person’s name or favorite product preferences (based on past purchases) enhances engagement with emails resulting in great rewards.
We recommend using an email marketing software (such as Klaviyo) to collate and store all of your waitlist data. Centralized email marketing will allow you to gather and store all subscriber data in one place making it easier to analyze, segment, and use the data to tailor your email campaigns and marketing strategies effectively.
When subscribers are centralized, you can segment your email lists more accurately. This enables you to send targeted and relevant content to specific groups of subscribers, increasing engagement and conversion rates.
Centralized email marketing services often provide comprehensive analytics and reporting, giving you a unified view of email campaign performance. This can be beneficial for making data-driven decisions.
Best Practices for Email Marketing with Waitlists
For successful email marketing with waitlists, it’s essential to comply with relevant regulations such as CAN-SPAM Act and GDPR.
To help maximise sales conversions from your waiting lists, you should take steps like:
- Sending emails/SMS about product availability or possible alternatives (if not planning to re-stock).
- Extending promotional offers based on the data from waitlist customers’ preferences.
- Creating personalized content that develops customer relationships.
- A/B testing your waiting list front-end and email campaign wording for better conversion rates.
By using these best practices in conjunction with law compliance measures, you can put yourself in better stead for a successful Shopify waiting list setup.
Why you might opt for offering pre-order over using a waiting list app
What level of order intent do you want to capture?
While waiting list apps offer an avenue to notify customers when a product becomes available, the level of commitment from the customer tends to be relatively low. Enter pre-orders.
If your goal is to capture more genuine interest and initiate a transaction that remains flexible without charging upfront, offering pre-orders might be the best way forward.
How pre-orders are different?
By embracing a pre-order system that supports pay-later pre-orders, you can gauge a customer’s true intention to purchase even before a product becomes available.
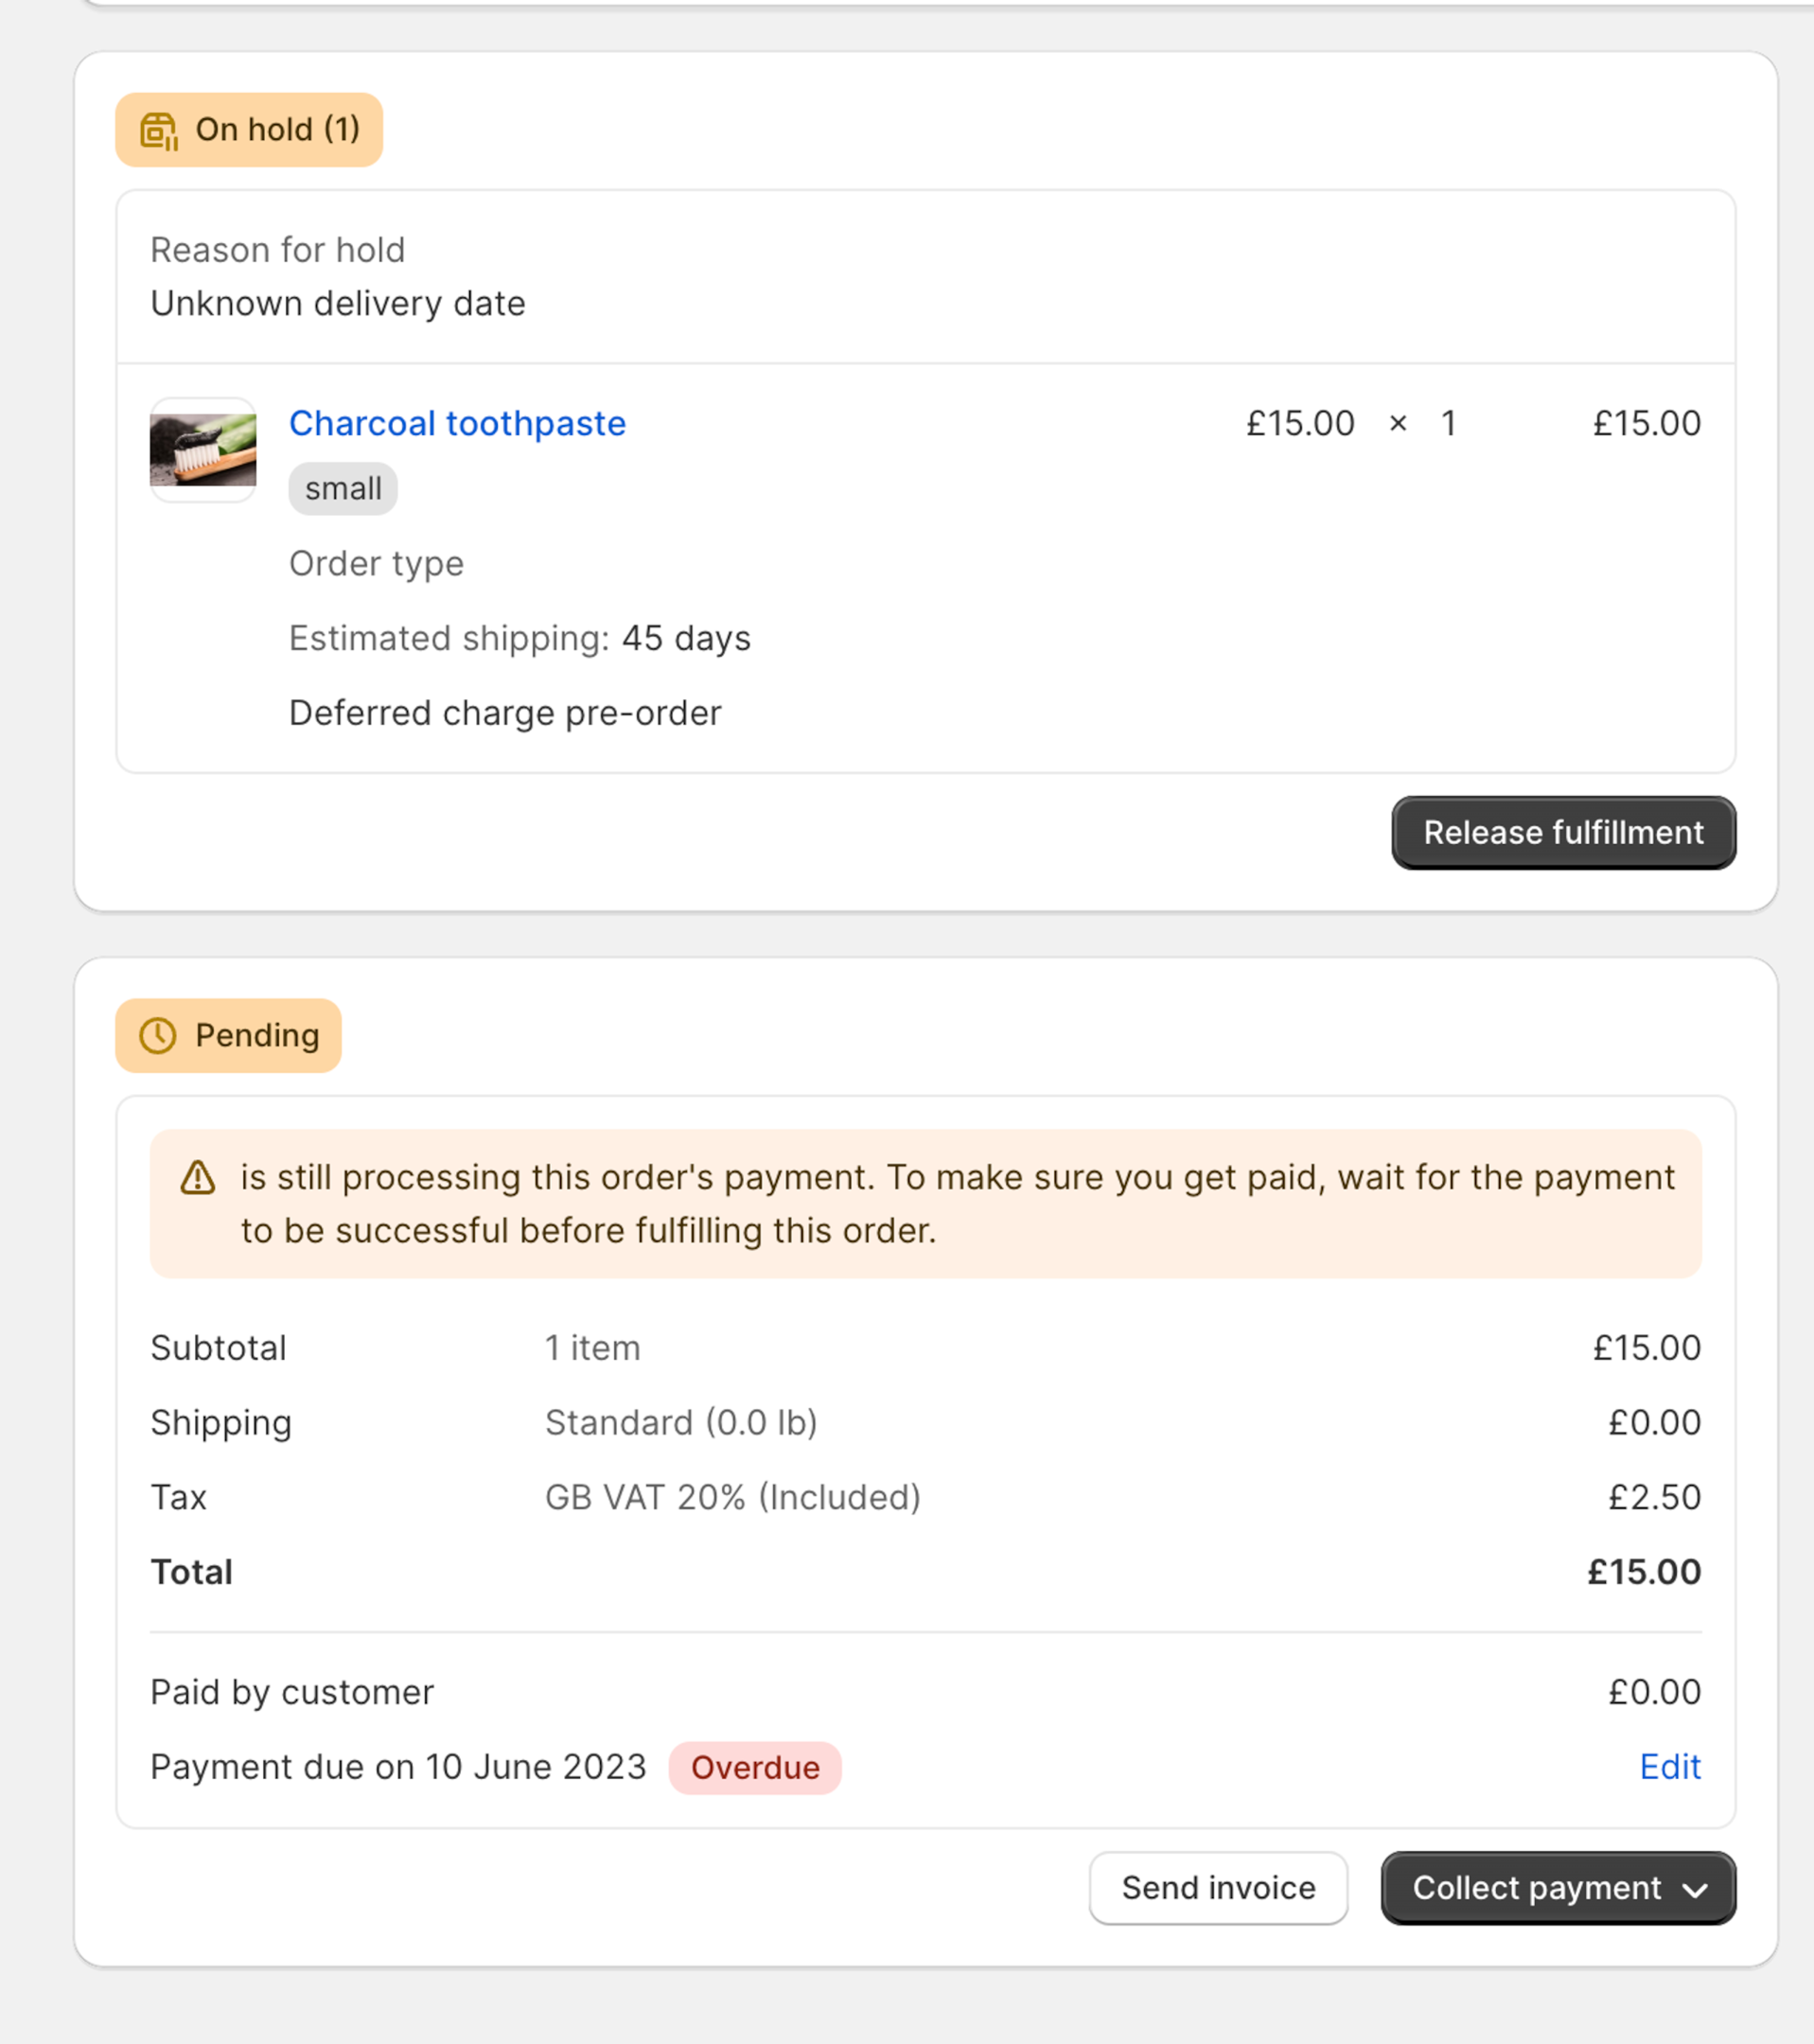
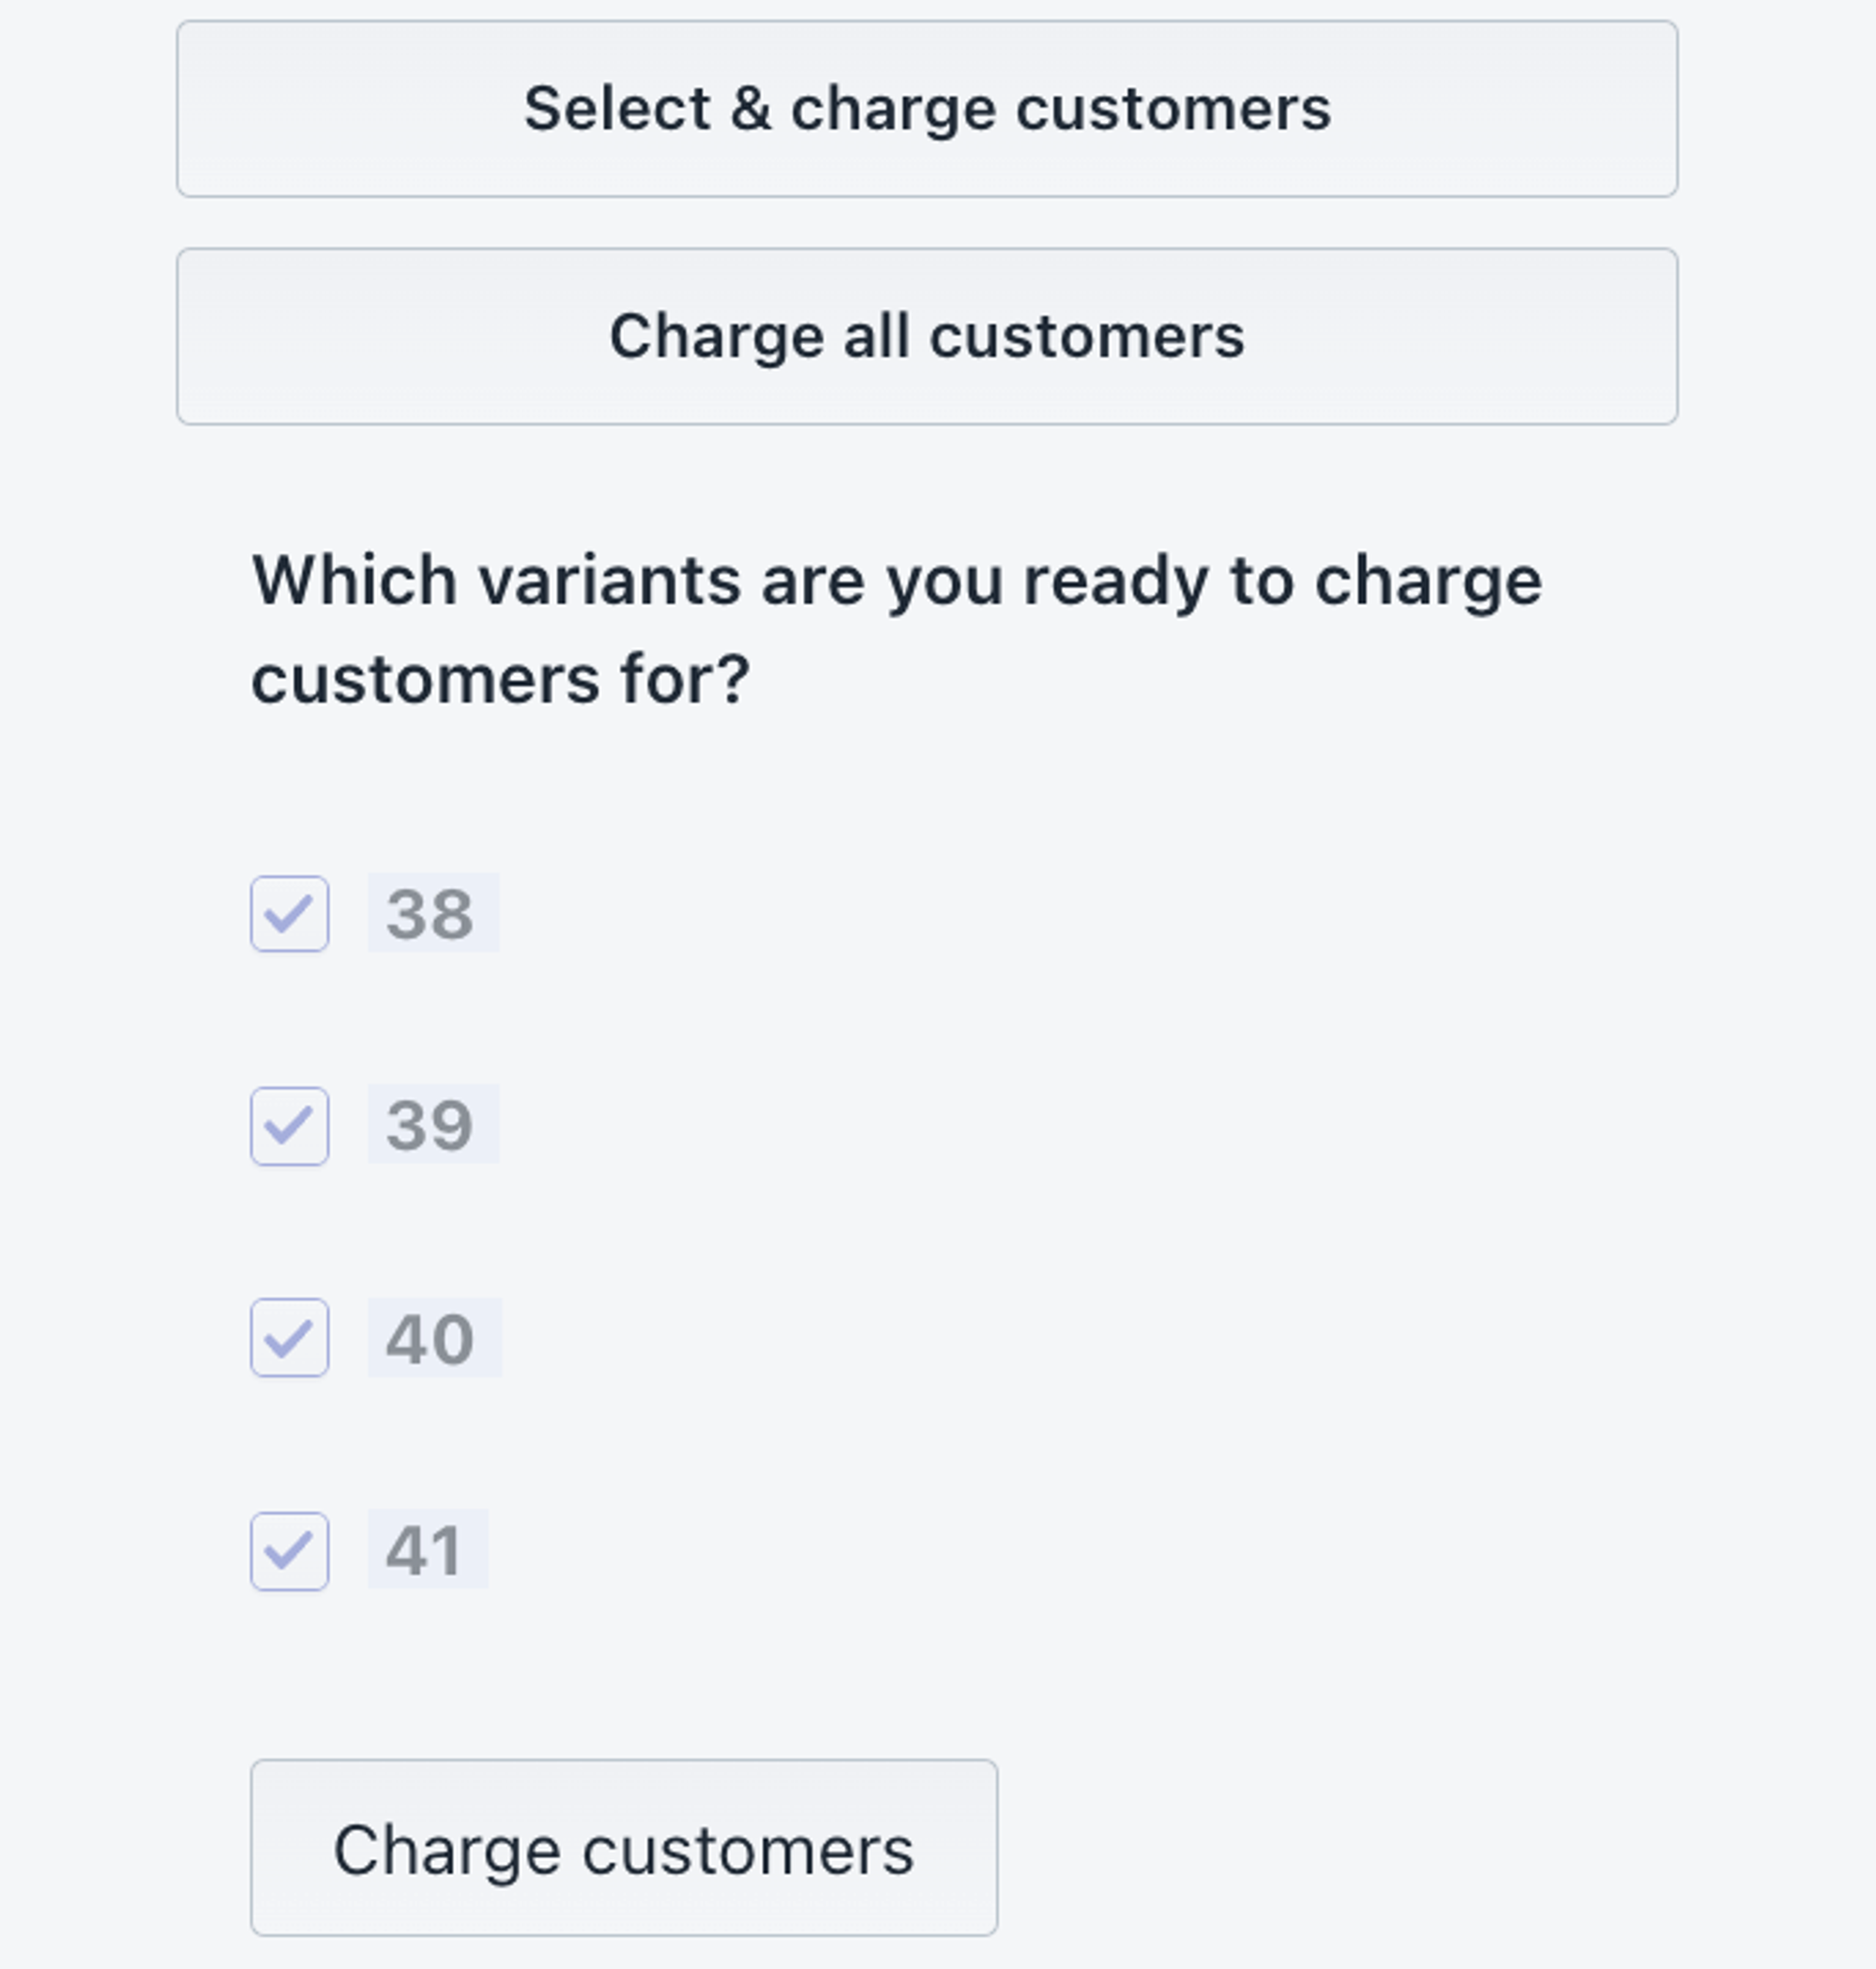
This approach provides a more accurate measure of product demand compared to simple waiting list notifications. …and maybe more importantly, you’ve got everything ready to charge customers once you’re ready.
Benefits of offering pay later pre-orders
-High customer commitment; as the customer commits to the pre-order and enters their card details, they are less likely to cancel their order.
-Less risk; as customers have committed to the pre-order.
-Flexibility; as you choose when to trigger the charge.
How pre-orders work
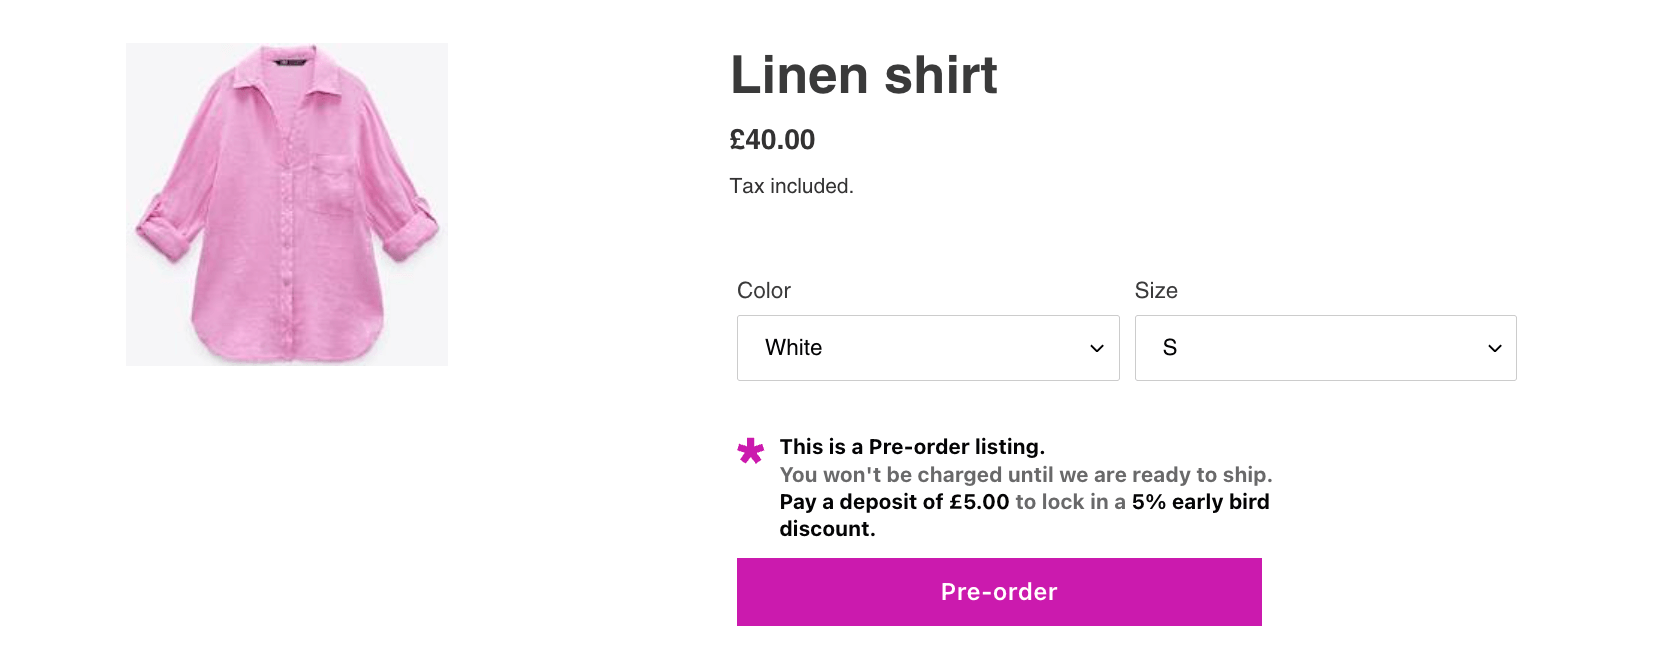
Pay-later pre-orders allow customers to pre-order your out of stock, soon to launch, and limited availability products.
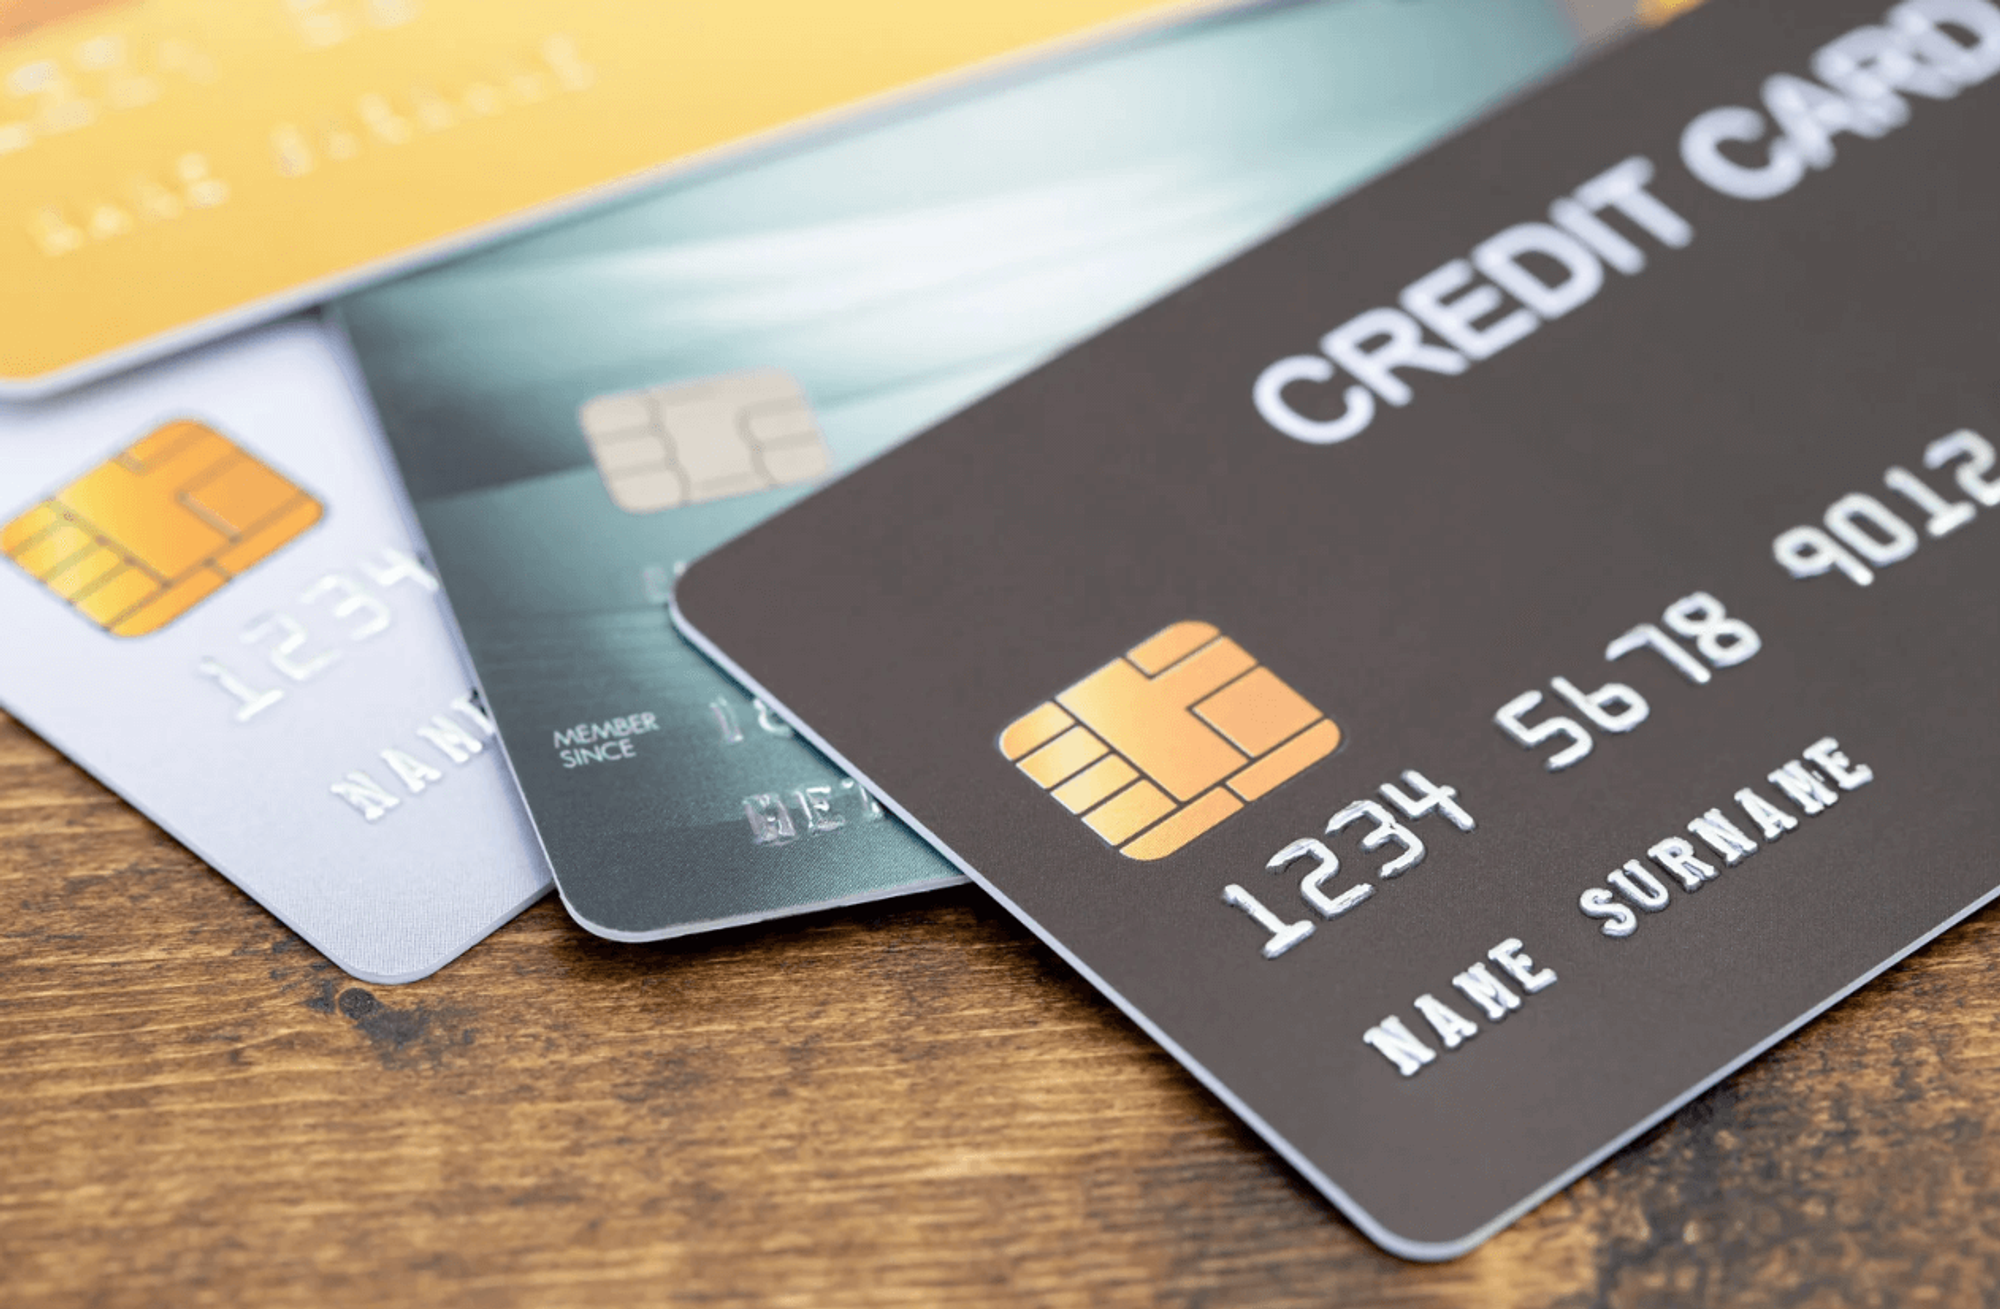
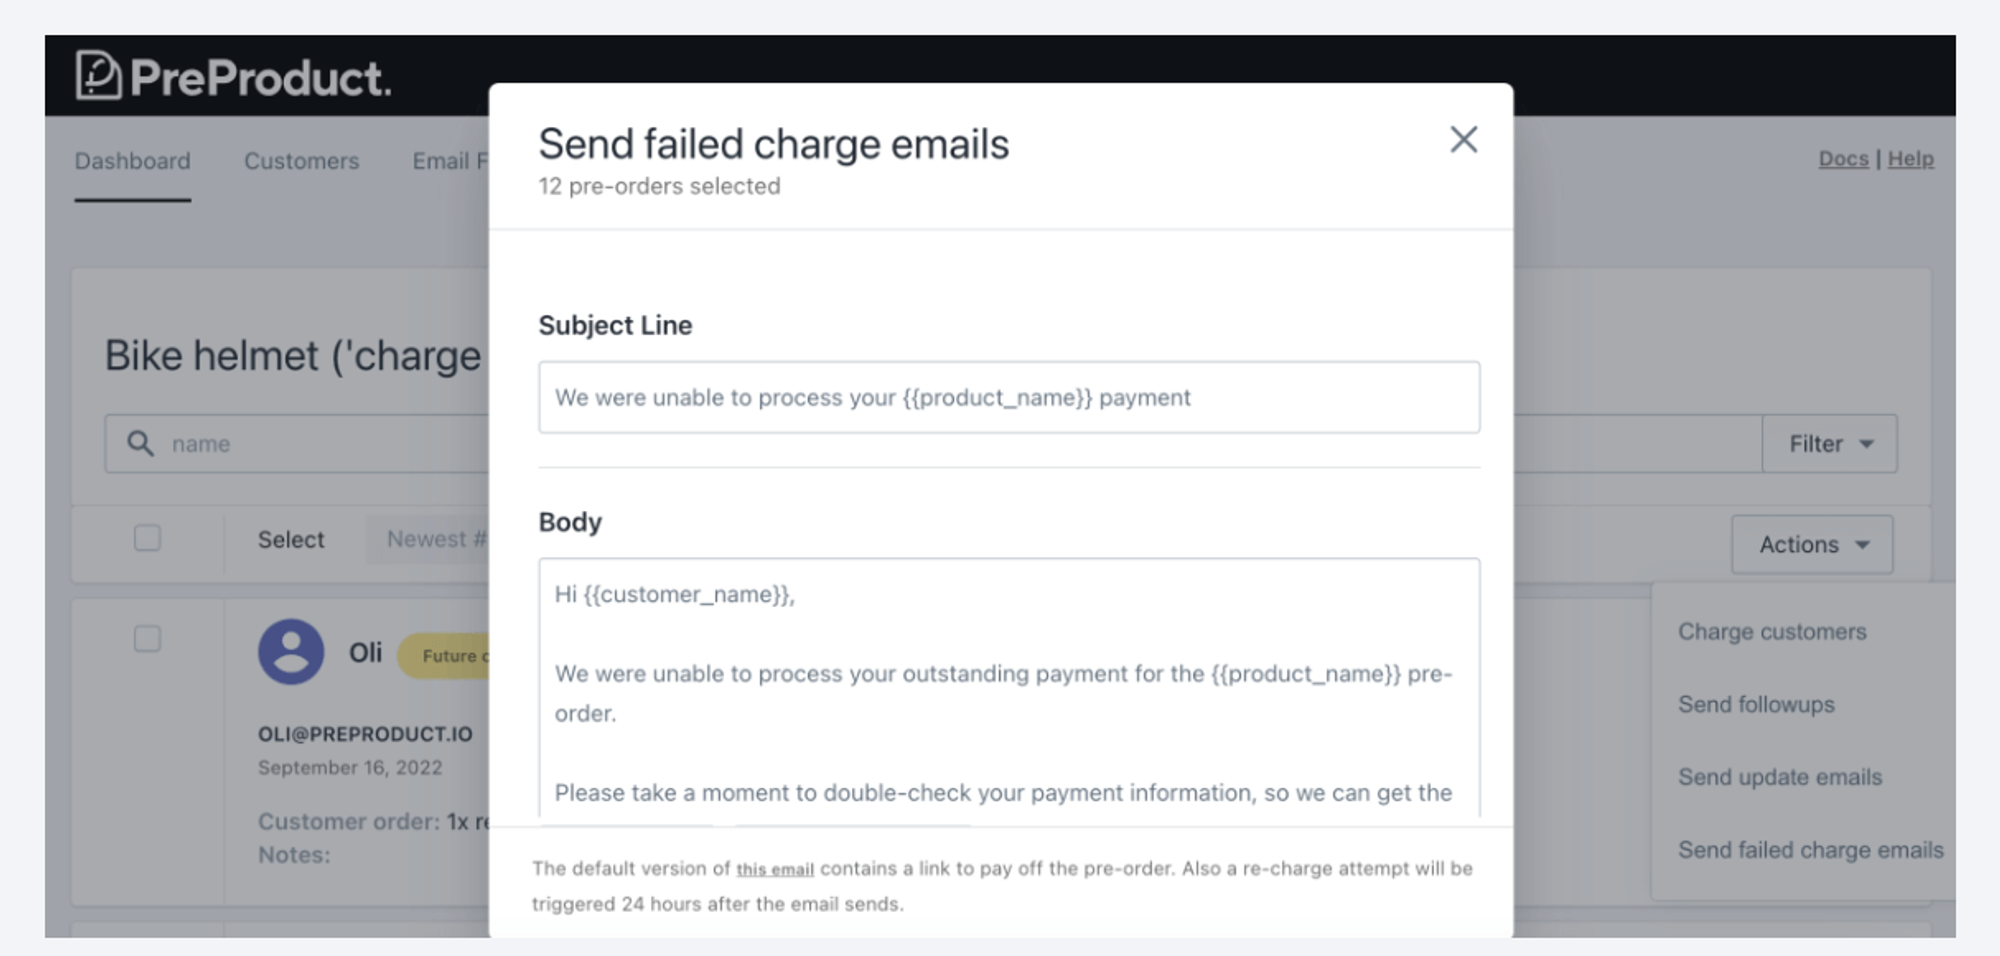
The customers pre-order and provides their personal details, and then at check-out they provide their card payment details and agree to be charged at a later date. Shopify then vaults these card details, and then at a later stage when you the store owner are ready you can trigger these deferred charges.
Notifying customers of any updates (such as shipping delays or when there card will be charged) is easy via fully customizable email campaigns offered by most apps.
Summary
In summary, a waitlist app can be an invaluable asset for Shopify store owners who are looking to collect customer feedback on out-of-stock products to improve inventory management while increasing the number of sales opportunities.
Before committing Shopify waitlist app it is important to consider the features, and ensure it will work well with your online store. You may also want to consider whether Shopify pre-orders may instead work better for your business.
Shopify Waitlist FAQs
Shopify offers many waitlist apps in the Shopify App Store that allow customers to create an alert for out-of-stock items and receive notifications when the app has replenished their favoured products. As of this writing, there isn’t a native way to do it.
Is there a waitlist option on Shopify?
To create a waiting list you will need to download a waiting list app from the app store. You will then need to setup and configure the app to start collecting data.
How do I create a waiting list?
When products are out of stock, customers can join a waitlist to be notified when they become available again. This helps the store build loyalty and satisfaction from customers.
Keeping track of demand for these particular goods also lets the retailer stock up on the right products, as they’re getting real market feedback on demand.
How can waitlists improve customer satisfaction and loyalty?
There are many factors to consider when choosing an app, some of the most factors include; customer registration, customization options, and analytics and reporti
What factors should I consider when choosing a Shopify waitlist app?
Customers join waitlists by clicking on the waitlist button and providing their details.
How can customers join waiting lists
Pre-sell With PreProduct
7 day free trial with all plans
