Contents
- What is a deferred payment order?
- How do deferred payments work on Shopify?
- Vaulted card VS card authorization periods VS invoice/draft-order
- When to offer deferred-charge as a customer’s payment method?
- Which payment method is supported and what are the requirements?
- Shopify ‘pay later’ advantages
- Shopify ‘pay later’ disadvantages
- Summary
- Shopify Deferred Payment Method FAQ
What is a deferred payment order?
Understanding how you can leverage shopify deferred payment and vaulted card tech, can be very beneficial for business.
A deferred charge/payment method, allows a customer to place a pre-order, but instead of paying for the pre-order straight away, they accept a future charge and the associated payment terms. The card details are vaulted so it can be charged at a later stage.
Traditionally customers are charged for an order at the time of placing the order; whereas with deferred charge, the merchant can choose to either charge the full payment at a later time, or to take a deposit/partial payment at the time of the order, and then bill for the remaining amount later.
Using deferred payments can be really powerful when paired with pre-orders, especially when merchants are unsure how long manufacturing/freight may take.
Customers are less likely to be frustrated by delays as they have not yet paid for the item, this gives the merchant flexibility with which dates they choose to charge and fulfil the order.
Deferred payments are also convenient when customers have a change of mind, as no refund is needed.
How do deferred payments work on Shopify?
Shopify has the ability to set up a special ‘purchase option’ for selling products. When a product is purchased with this applied, the customer won’t be charged upfront. They’ll still go through checkout and enter their card details and review the order, but will accept a future deferred payment for the product, Shopify then vaults the card details with Stripe.
To use these special ‘purchase options’ and therefore offer deferred payments you will firstly need to install a Shopify app that offers and supports deferred payments.
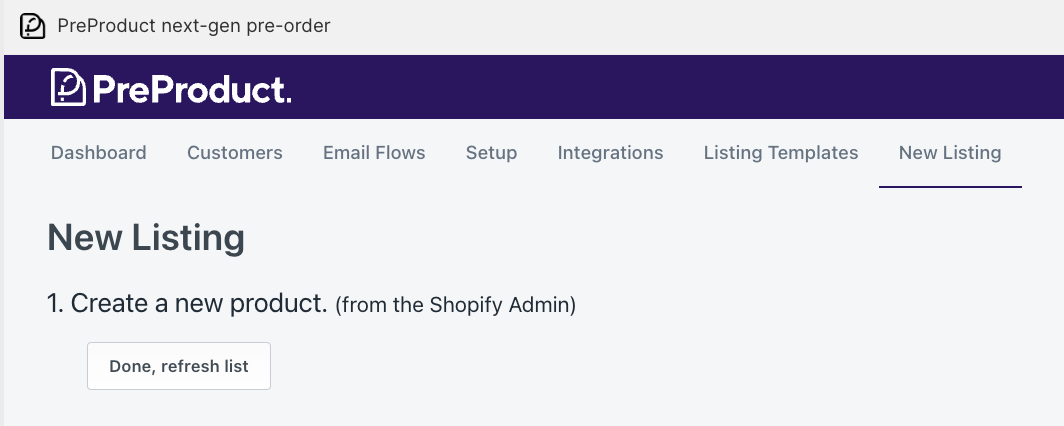
Our app, PreProduct offers deferred payments and can be found here. The app will generate the purchase options (the technical name in Shopify’s APIs is ‘selling plan‘) on your behalf with any discounts/deposits/terms included, and communicate this to shoppers, with the approximate soonest due date shown. This can be edited as and when needed.
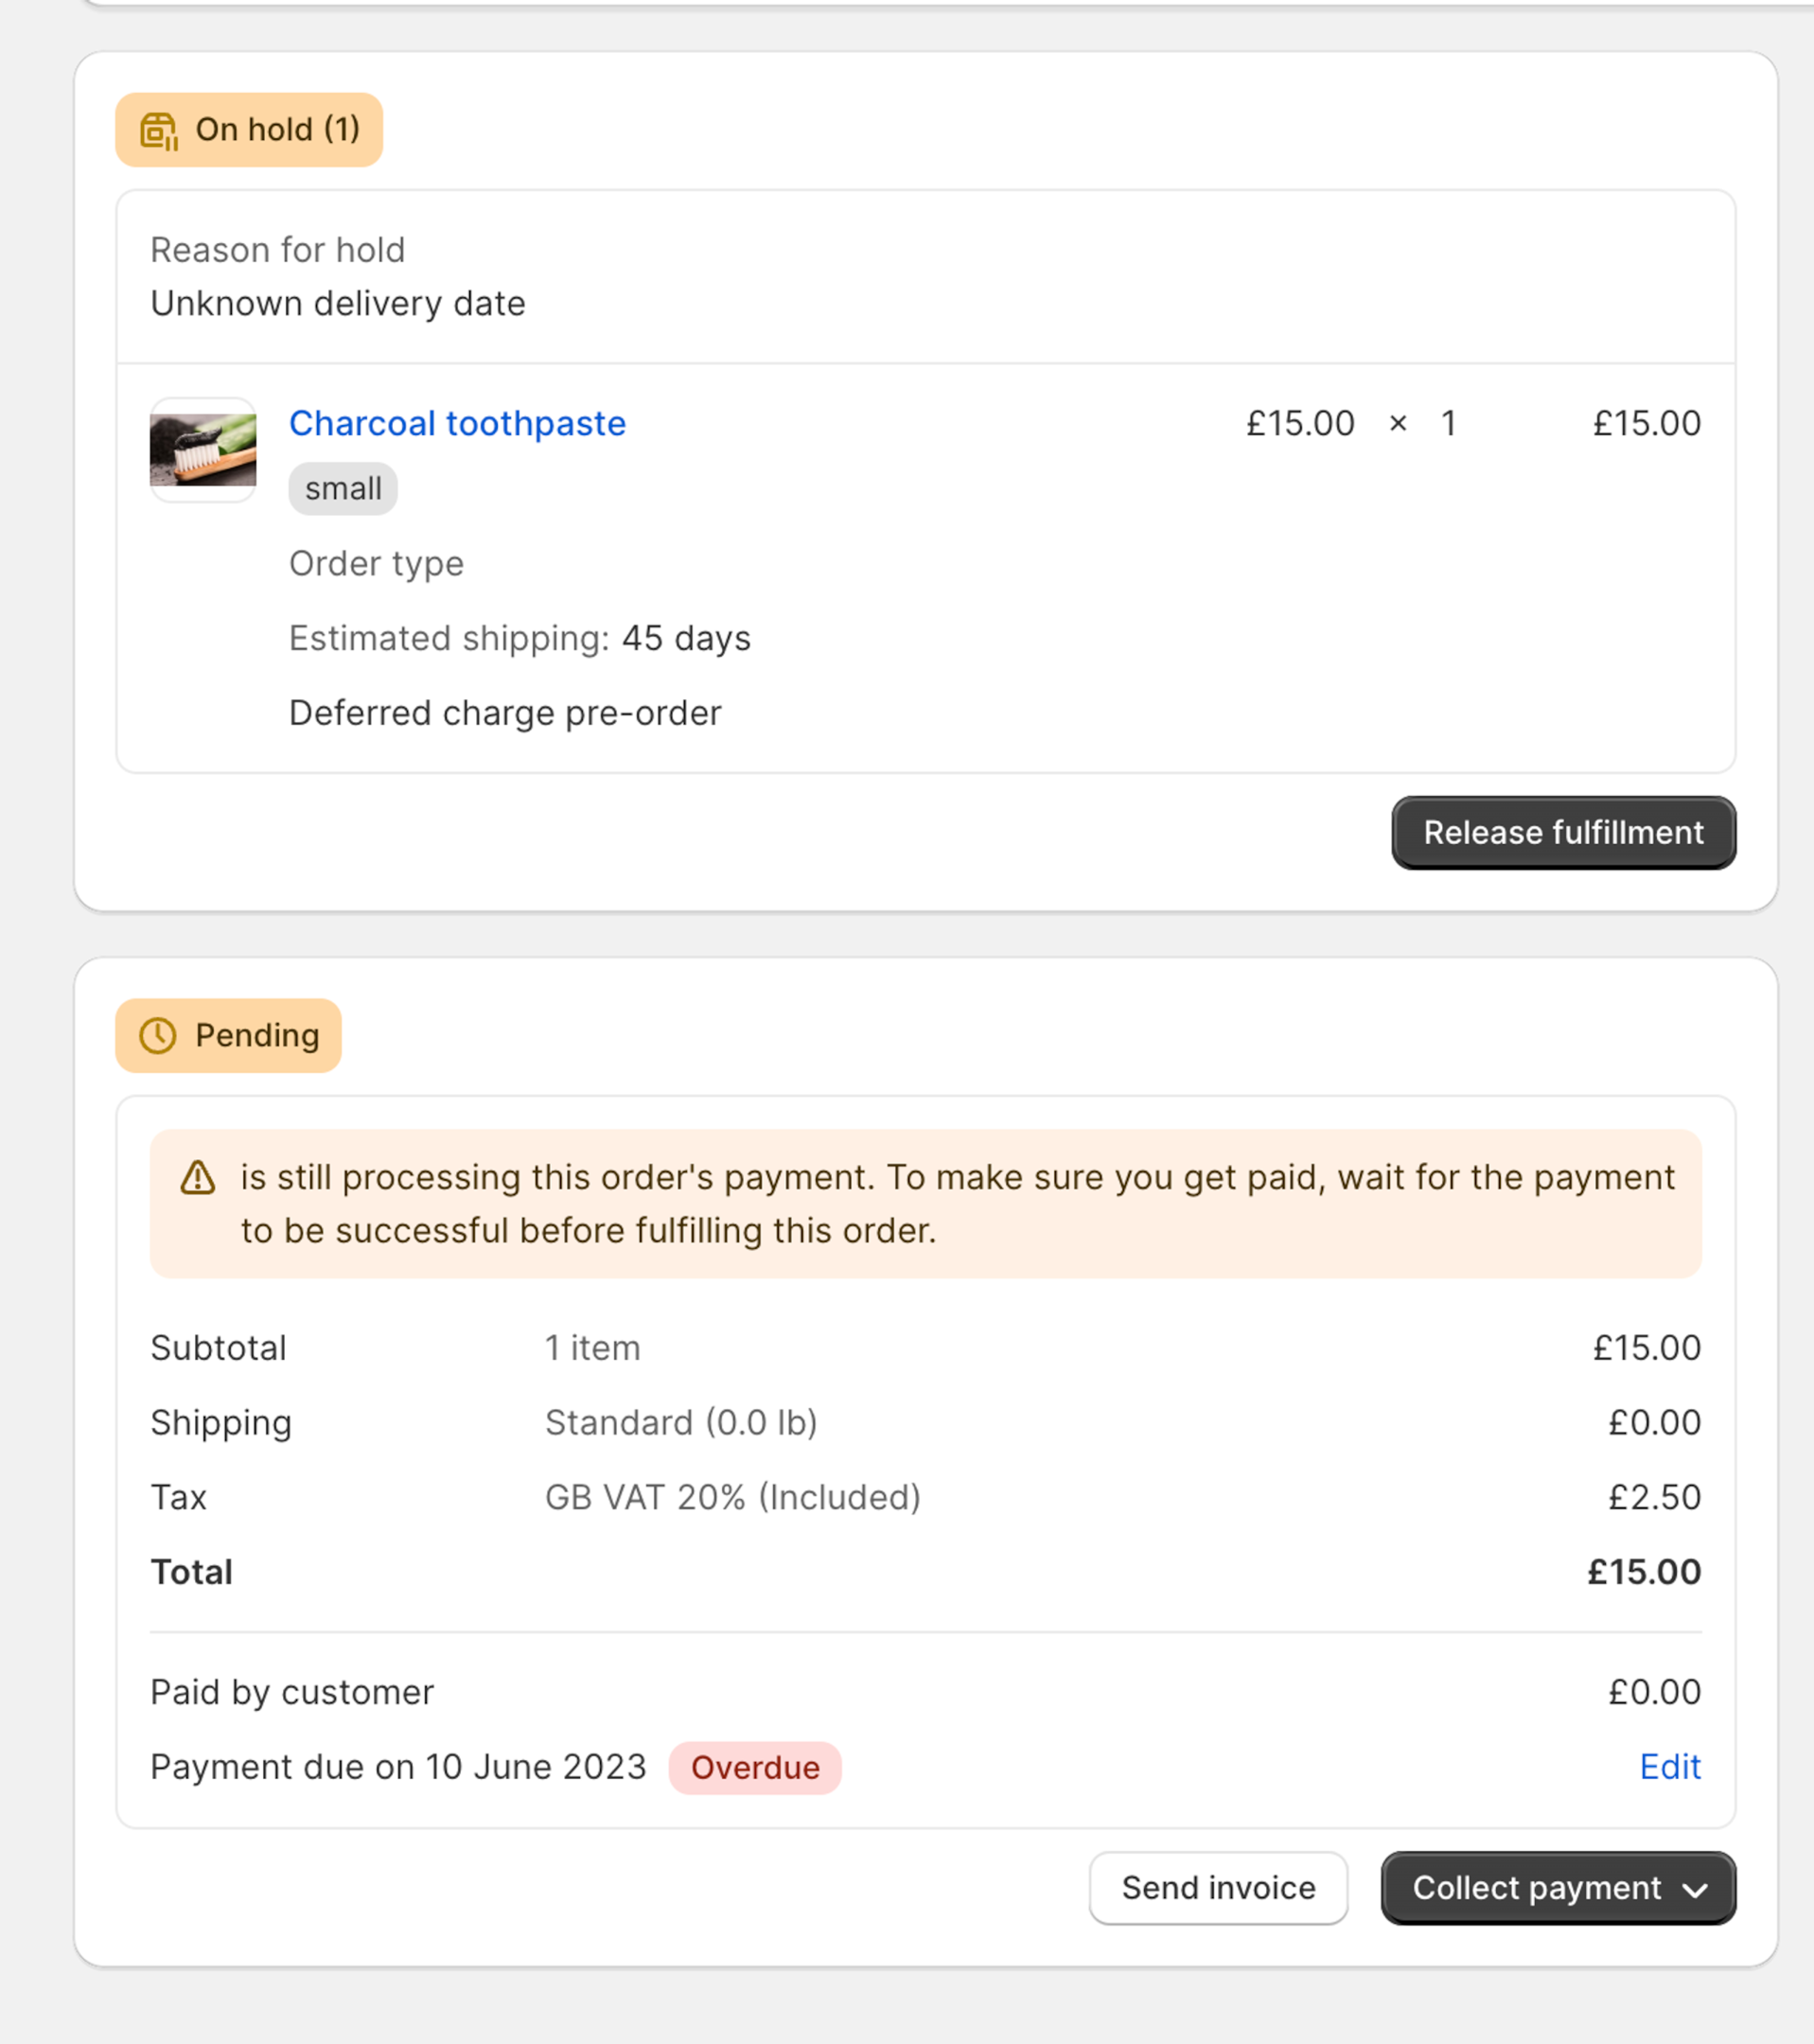
Then when you are ready to bill customers you have two options. You can either trigger the deferred charge in a one-by-one fashion from your Shopify admin in the orders section (like the screenshot below).
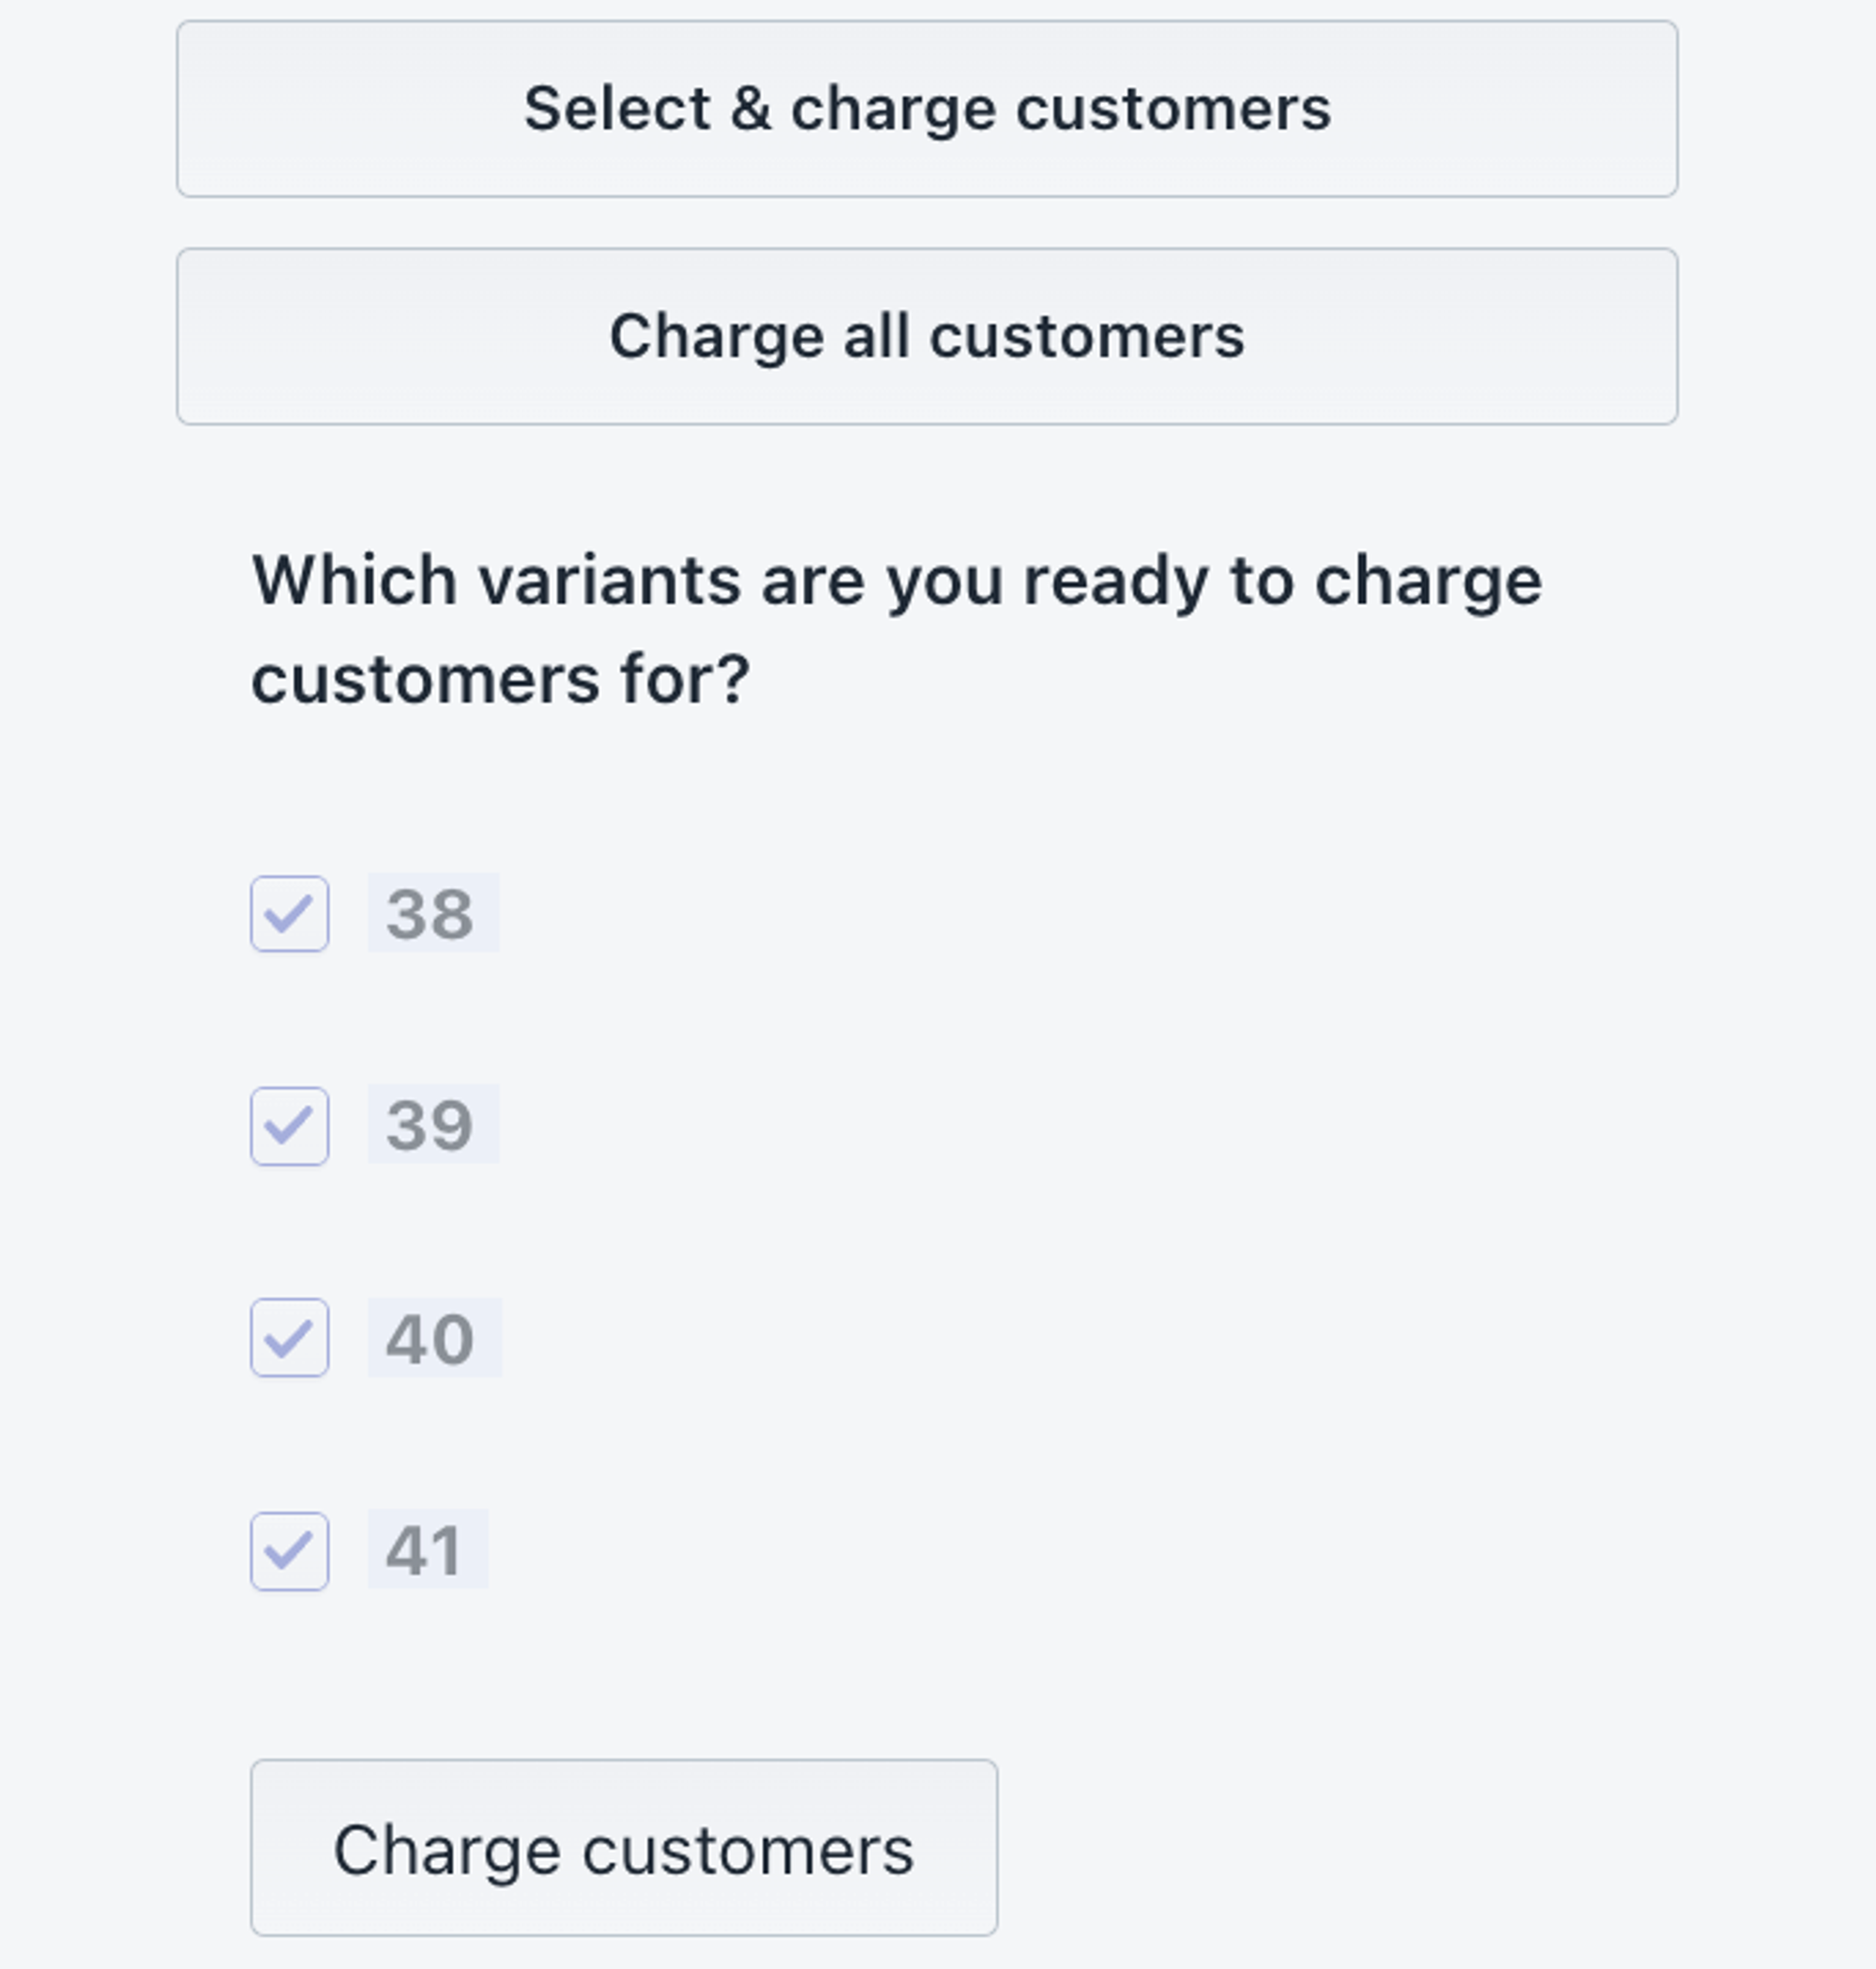
Or you can trigger the charges via the third party app you have installed. We recommend this option as it is a quicker and a simpler process, and can be done via the app without going into Shopify admin.
You can also keep customers updated on the payment schedule, and final payment due date via the fully customisable email campaign (as well as trigger dunning flows if cards fail)
Vaulted card VS card authorization periods VS invoice/draft-order
Vaulting card details is the process used by Shopify for deferred charges. The customers place a pre-order, and are taken to the store’s checkout. They will then enter their card details and accept a future charge. Then instead of being charged for the order, Shopify will vault and store the card details, so that they can be programatically run through checkout at a later date when the store is ready.
In comparison, the process of card ‘authorization’ is where the card issuer gives approval that the customer has sufficient funds available to meet the transaction and will accept the charge if it’s made in a certain window of time. Generally most authorisation periods will last for 5 -10 days and then expire, so the store will need to capture the charge in this time period or risk it expiring.
Vaulting is great as it’s not limited to the average 5-10 day window, as the details are recorded on file before triggering the payment.
Authorization is less flexible due to this limited window in which the payment can be charged, but does have the advantage that the credit card company will check that sufficient funds are available at checkout.
However, if the vaulted card has insufficient funds or is expired, supporting apps (like PreProduct) will show the reason for the error and let you deploy a dunning flow to try and rescue the order.
Another approach which is often used by wholesale stores is Shopify “draft orders”. These aren’t technically deferred charge as they work by sending out payment invoice emails. These invoice emails contain links which customers can use to check out.
Whilst it is technically a ‘pay later’ method (as the customer can lodge an order with you and then pay later) no future transaction is captured, it’s just a way of capturing the order intent, then starting the transaction later on.
Unless you have a specific use-case that requires draft orders, we recommend using the ‘vaulted card’ method as it allows you to send the customer through checkout once at the time of order, and then capture the payment in the future at your convenience.
When to offer deferred-charge as a customer’s payment method?
For pre-order campaigns
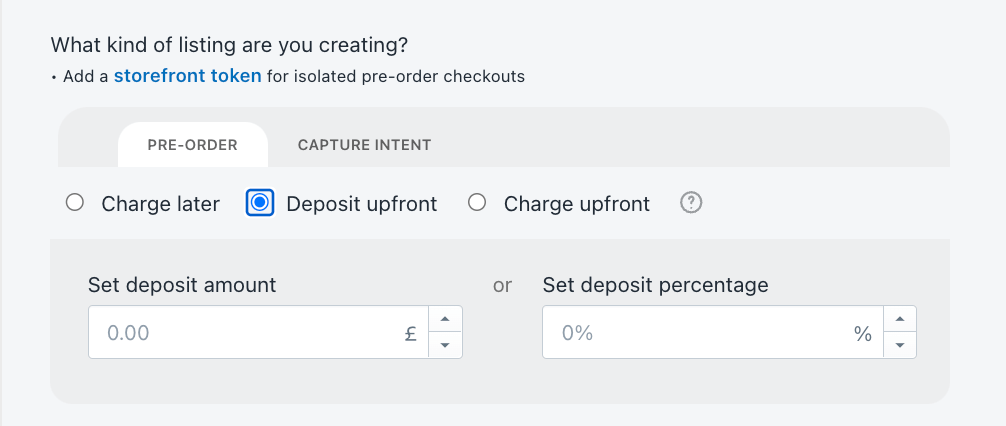
Deferred payments can be really helpful for pre-order campaigns, and can assist you to sell more products, as customers do not need to pay the full amount upfront, and instead pay at a later date. You can either choose to collect the full amount via deferred billing at a later date, or you can use deposits and bill a portion upfront (the deposit) and then the remaining at a later date.

Made to order
When there is very high demand for a product, or the product requires extensive time to create/make, ‘made to order’ can be a great strategy; as it allows you to control the number of orders you accept and manage inventory. Deferred payments can be useful for this strategy, especially if customers may be waiting for an extended period to receive the product.

Try-before-you-buy
‘Try before you buy’ is a sales technique that lets customers try on or test a product before committing to purchasing. This is commonly used for larger price point products, as well as when the customer is deciding between multiple products, models or styles. Using deferred payments with this type of selling method would be be a great way to reduce risk and sell more. The customer accepts the future payment, but then is only billed if they choose to keep the item.

Which payment method is supported and what are the requirements?
Currently both Shopify payments and PayPal support deferred-charge for Shopify stores. Any type of credit card can be ‘vaulted’ as it is simply recording card details for when the payment’s due. If the card can go through checkout in a buy-now situation it should work for deferred payment (as long as you’re using Shopify payments/PayPal).
Shopify ‘pay later’ advantages
Shopify pay later offers many advantages for merchants as well as customers. For merchants the biggest advantage is that you can make the payment due request when it suits your business. You may have manufacturing delays, or shipping hold ups, and want to delay the payment due date.
Another advantage for merchants is that you are not limited to short 5/10/30 day periods like when using credit card authorization. As the card is instead vaulted with Shopify and the time period is not limited.
For consumers, there is a both a psychological and convenience factor, as they are able to commit to a purchase without having to give immediate payment.
Shopify ‘pay later’ disadvantages
The only real disadvantages of using Shopify ‘pay later’ is the potential for failed charges. This can happen because of expired cards or the customer not having sufficient funds in their account.
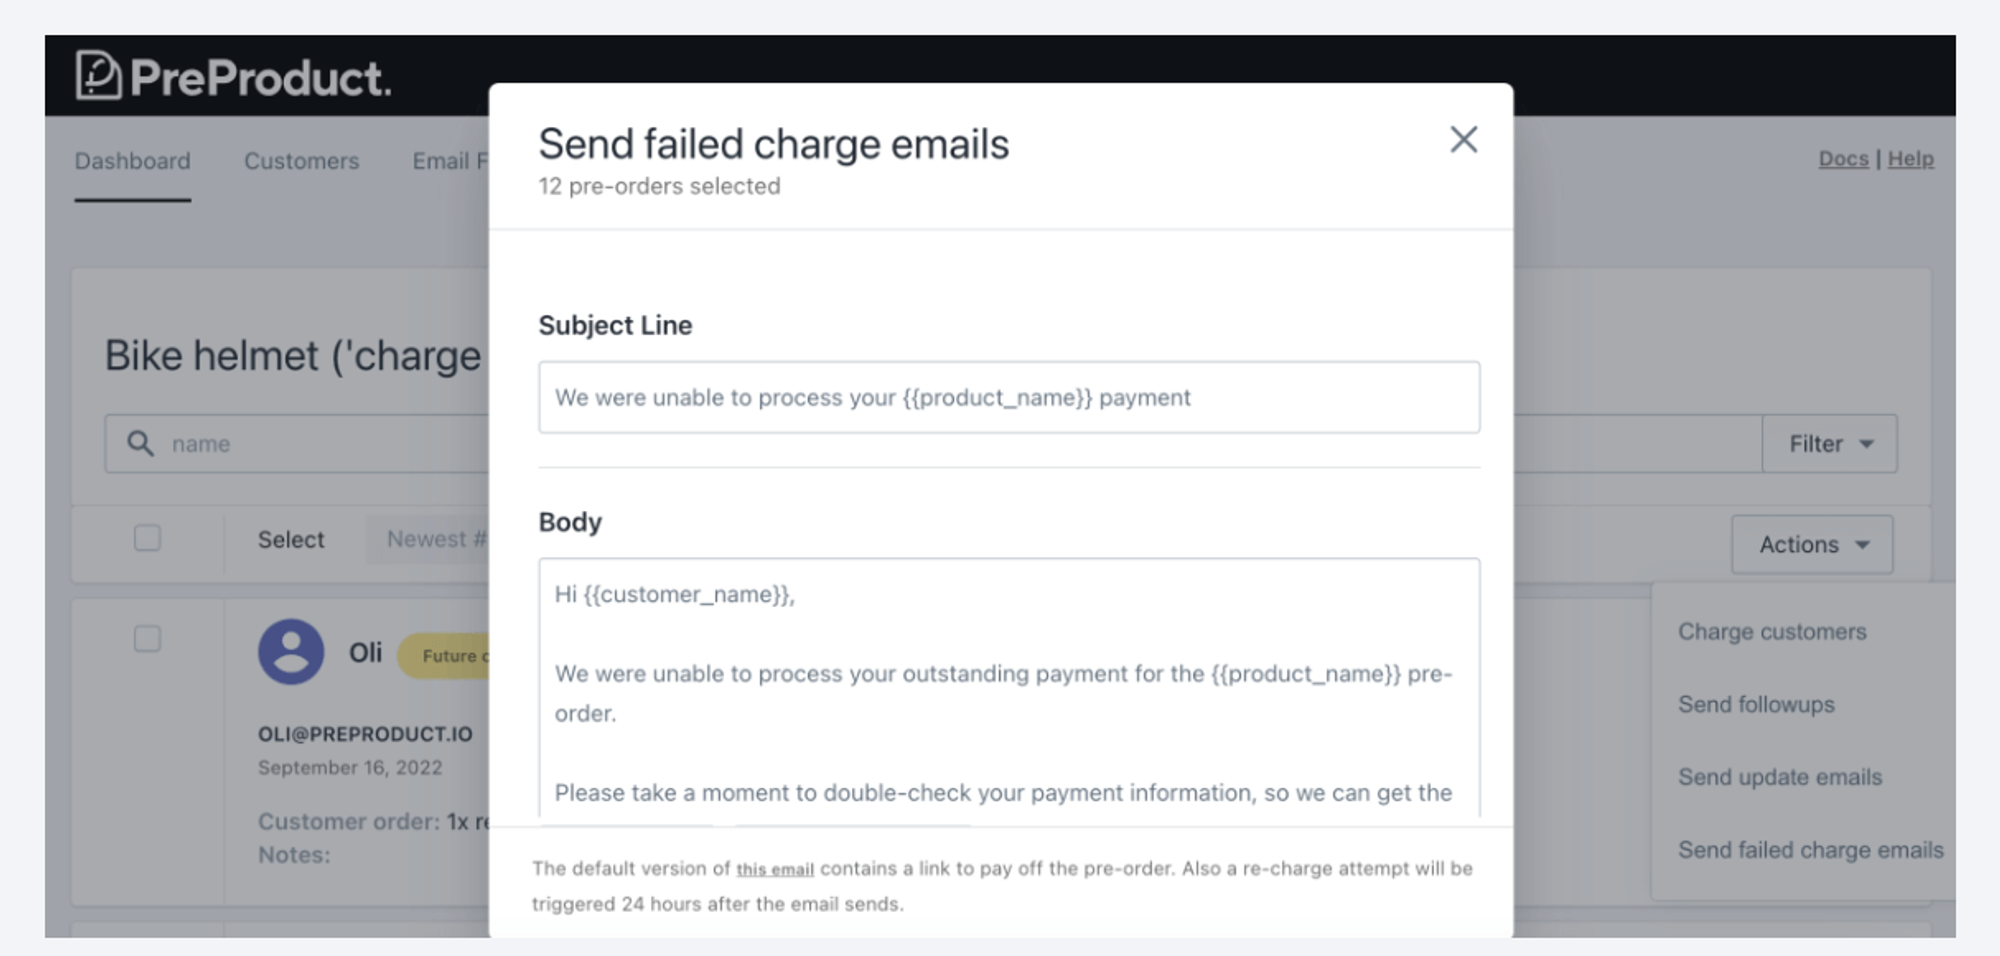
A supporting third party app (like PreProduct), should have the ability to send failed charge emails for failed deferred charge payments which will allow the buyer to rectify the payment or pay with another card.
Summary
Integrating Shopify’s Deferred Payment and Vaulted Card technology into your store offers a practical solution for managing pre-orders and cash flow, especially during uncertain manufacturing and shipping times.
By deferring payments, customers are more inclined to commit to a purchase, knowing they aren’t immediately out of pocket, particularly for items not instantly available. This method significantly reduces the administrative hassle of refunds should they change their mind. Offering a much more seamless experience than charge-upfront pre-orders.
Overall, Shopify deferred payment provides merchants increased flexibility in managing revenue streams while maintaining customer satisfaction and trust.
Shopify Deferred Payment Method FAQ
Yes if you use a 3rd party app (like PreProduct) with a payment provider (like PayPal or Shopify Payments) that supports deferred payments, you are able to delay charging until a later time.
Can you delay payment on Shopify?
To allow customers to pay later on Shopify, you can use deferred charge via a 3rd party app. The customer will place the pre-order, no money is exchanged immediately, and then when you are ready to charge, you will trigger the deferred charge.
How do I allow customers to pay later on Shopify?
Currently Shopify Payments and PayPal are supported on Shopify for deferred charge, so you could use PayPal instead.
What happens if I don’t use Shopify payments?
You trigger the deferred payment when you are ready to charge, Shopify will then use vaulted card details and charge the consumer for the remaining amount (if using a deposit) or the full amount (if 100% charge later).
How does pre-order payment work?
Yes. Subscriptions use periodically trigger deferred charges on the customers card; Typically right before the due item is set to be fulfilled.
Do subscriptions use deferred payments?
Some Shopify pre-orders apps (like PreProduct) generate a customer portal where shoppers can check the payment status of their pre-order’s deferred payments and when it is expected to ship.
How can customers check on their deferred payments?
Pre-sell With PreProduct
7 day free trial with all plans