Introduction
Pre selling a limited edition on shopify refers to the release of products/variants in a restricted quantity, for a specified period or both. A limited drop can be used in many situations, such as for highly collectable item/s, for coveted items, for items that have only a small supply, and for products that have a large lead time.
There are many benefits that a company can see by offering limited drops of a product on Shopify, such as increased sales, creating brand loyalty, fostering growth and community as well as reducing financial risk and assisting overall business success.
The below article will discuss pre-selling a limited edition on Shopify, and the best practises for a successful campaign.
Preparing for a limited edition drop
Building hype and anticipation
- Marketing and promotion of your limited edition product is imperative for success. Companies often use limited edition drops as a marketing strategy to generate buzz, build anticipation, and drive sales.
- Limited Editions in e-commerce offer several appealing aspects that can attract and engage customers. Limited editions imply scarcity, which can create a sense of urgency. The fear of missing out can drive people to make a purchase sooner rather than later, increasing the likelihood of a sale.
- Limited editions are also often designed to be unique or exclusive, providing customers with a product that not everyone can have. This exclusivity can make customers feel special and privileged, enhancing their perception of the product. Offering limited edition via pre-order, can allow your customers to place their order and secure the product before it is available.
- The use of weekly drops or monthly drops in small batches can also help with the buzz around your ecommerce brand.

Optimizing your Shopify store for limited edition drops
- There are a few technical and strategic tips we recommend when setting up your Shopify store for limited edition releases.
- One product page optimization that can be really effective is the use of a countdown timer. This is an app/widget that allows you to set a specific amount of time and counts down towards the moment your drop goes live (or is available for sale). The countdown timer typically displays the remaining time in hours, minutes, and seconds.
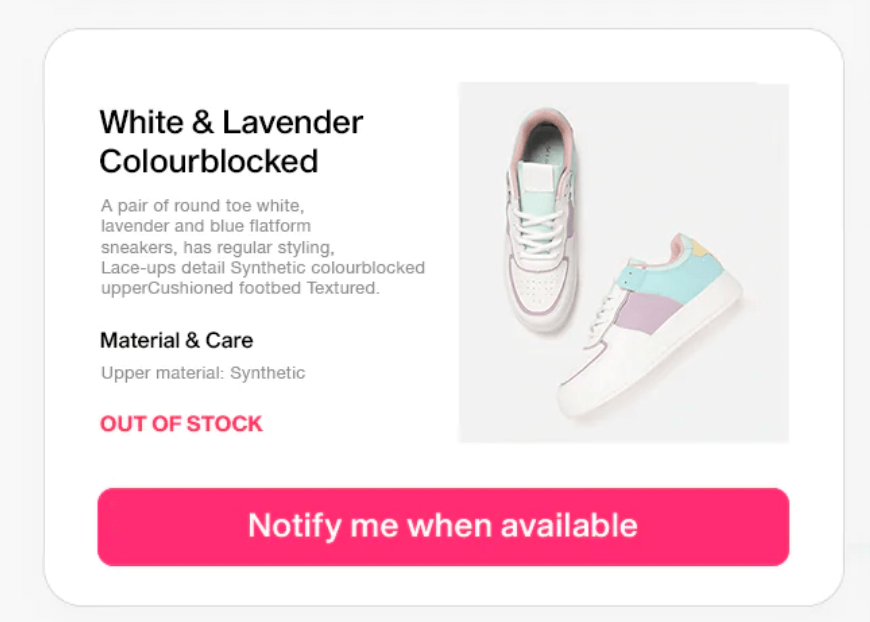
- Another product page optimization is the use of a waitlist. Waitlist software can manage and automate the process of creating and managing customers who sign up to hear about new release or out of stock products. It will allow you to embed a section on your website to collect potential customers email and other details, which you can then use to advise customers when the product is released.
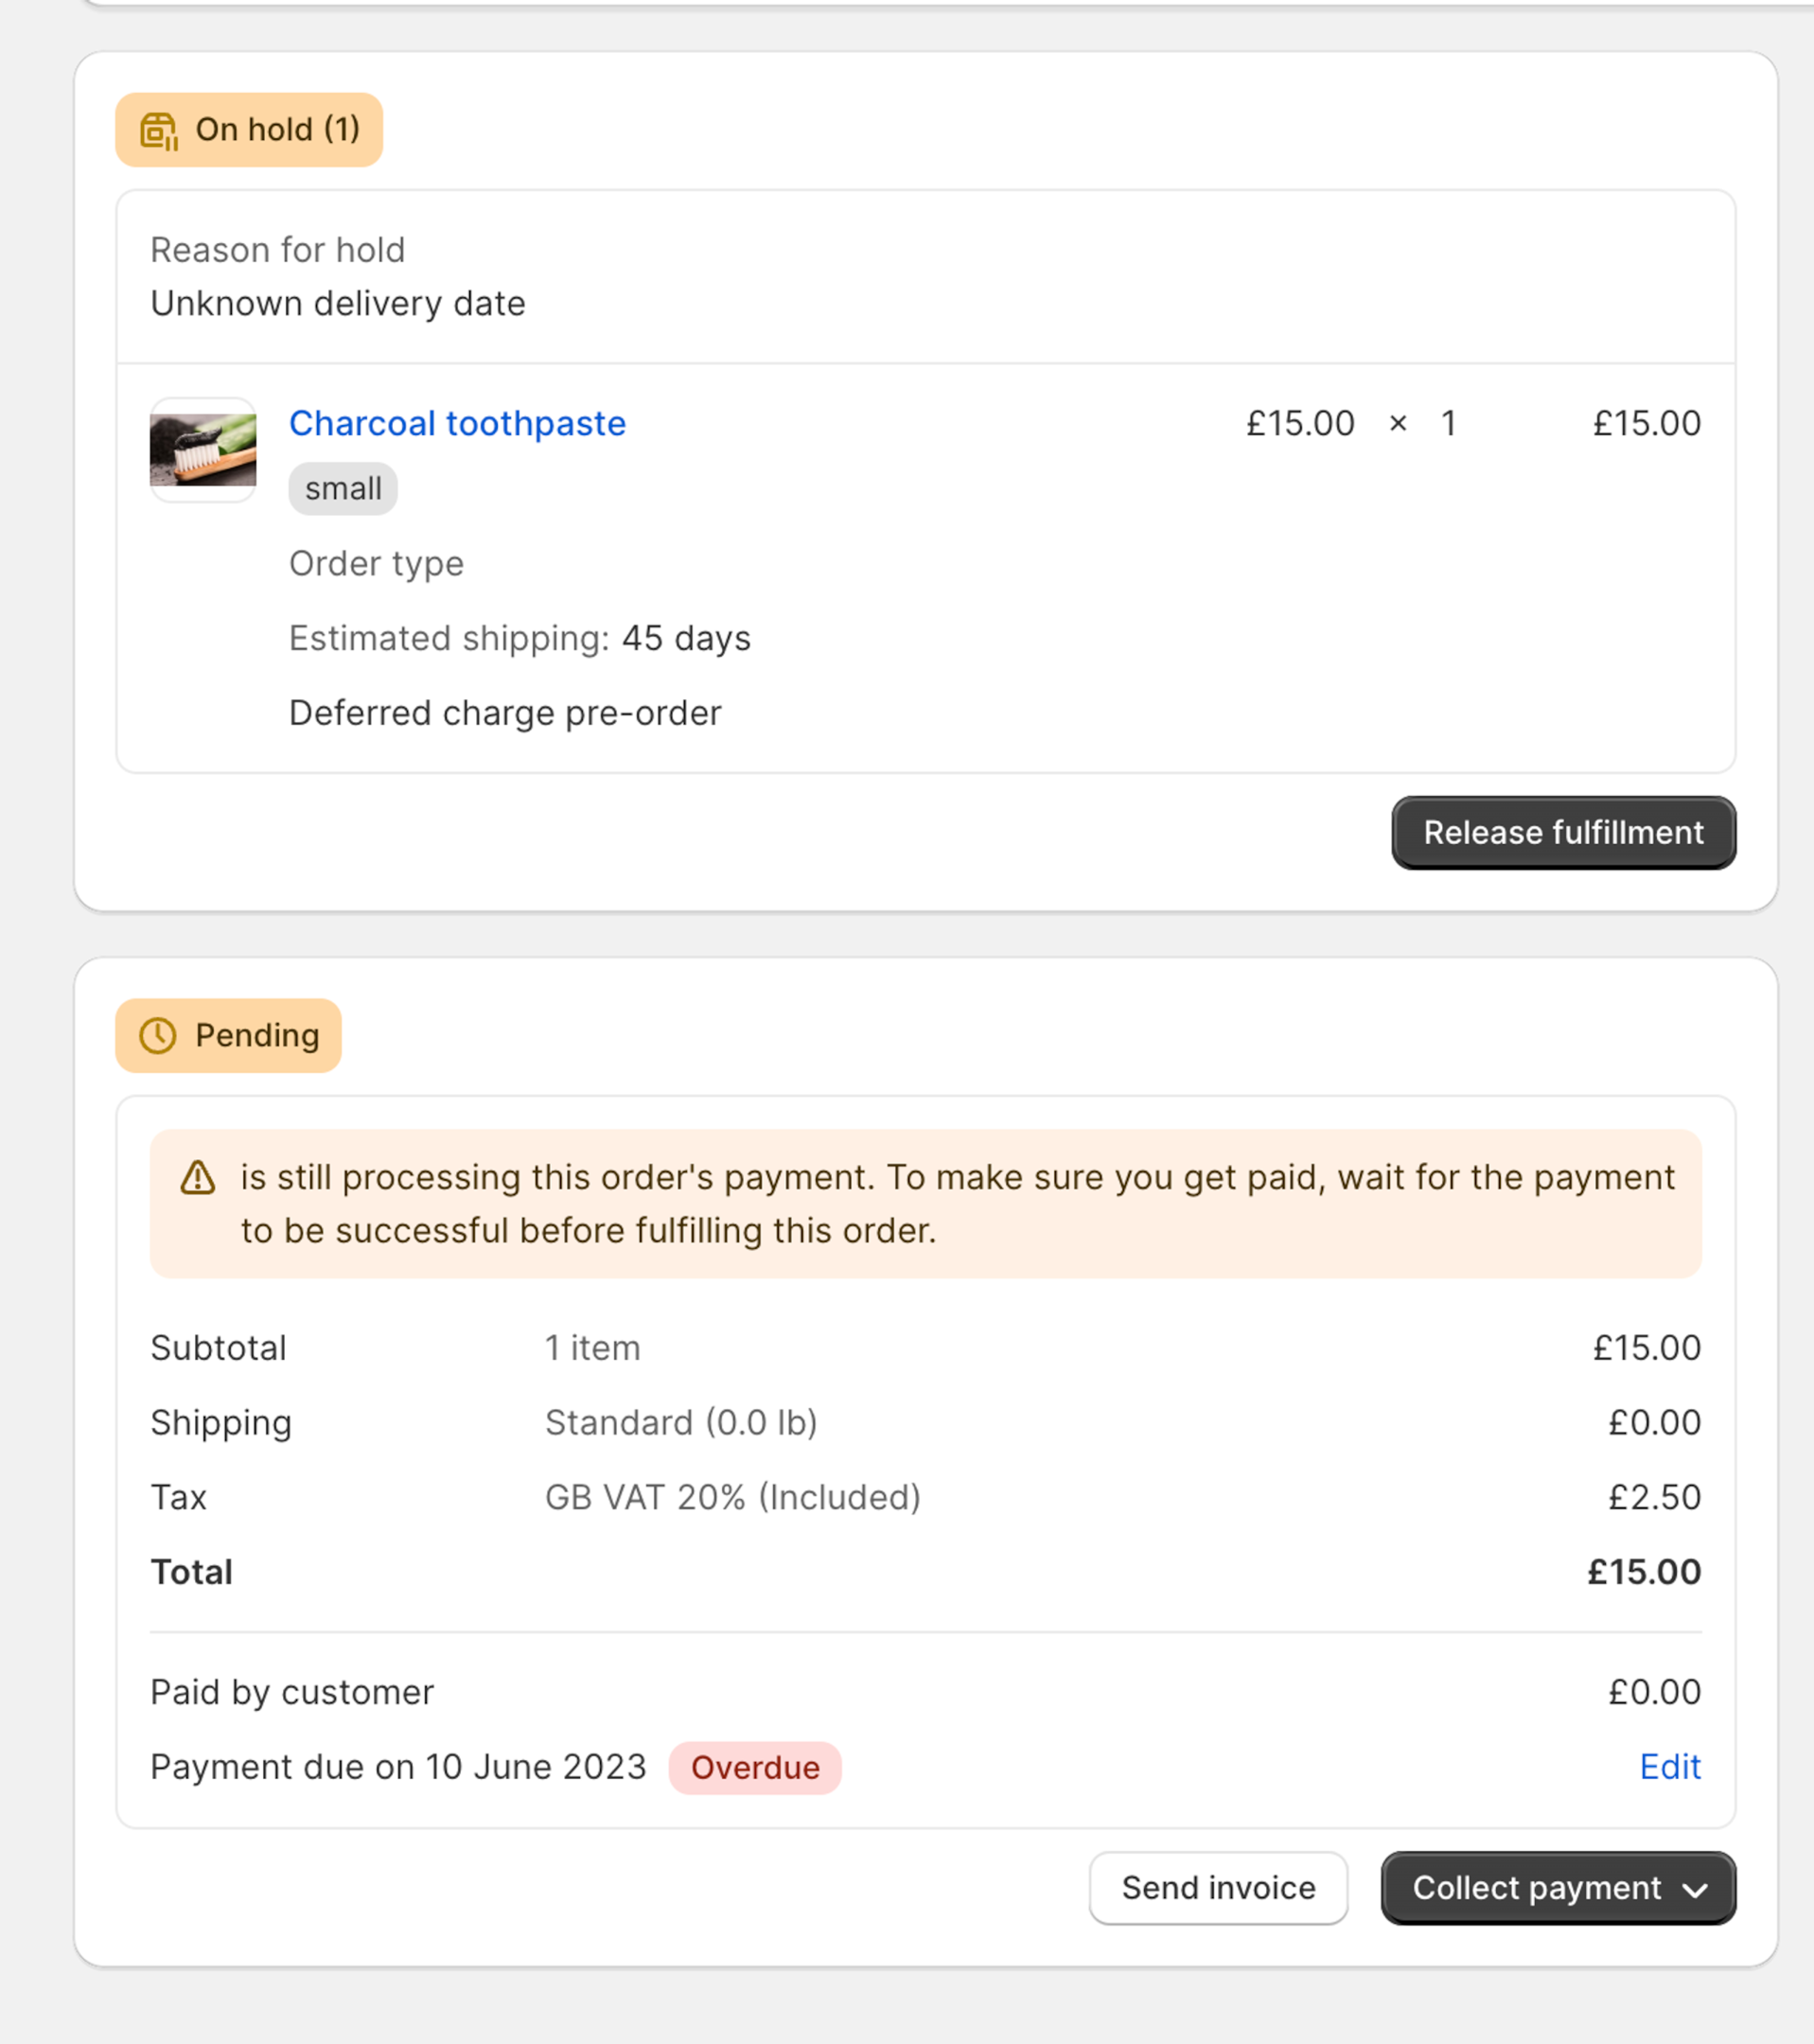
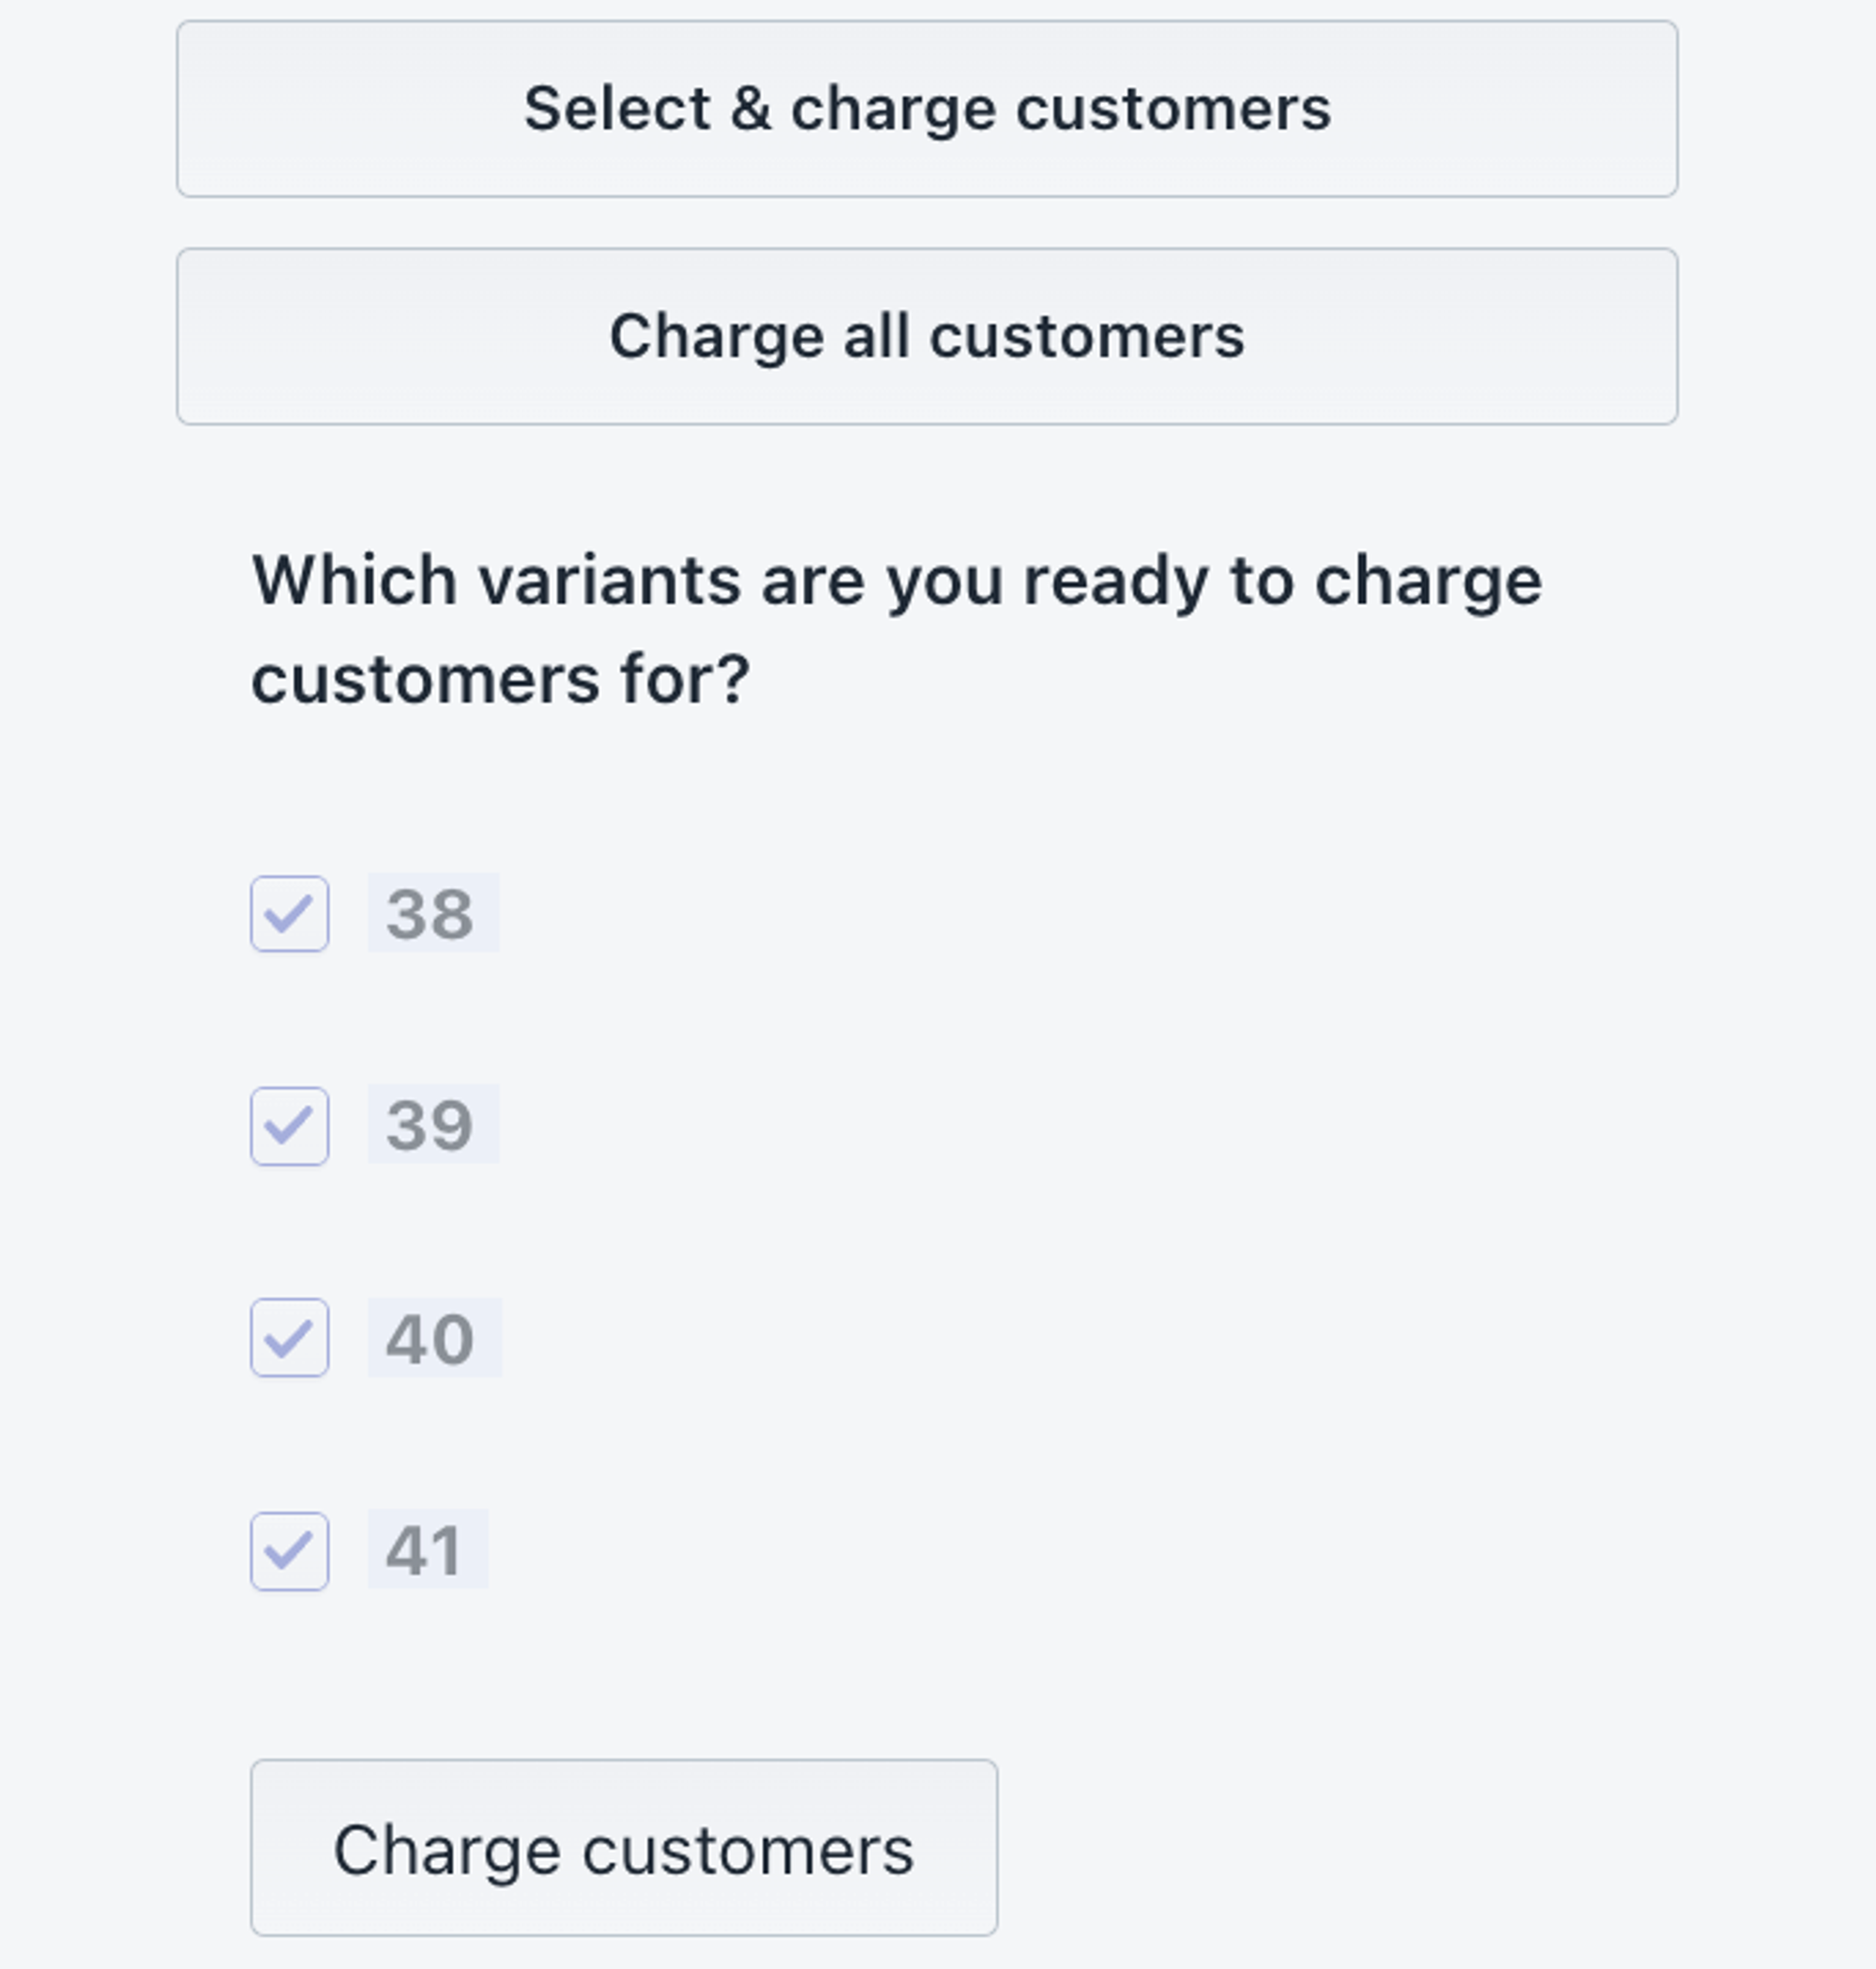
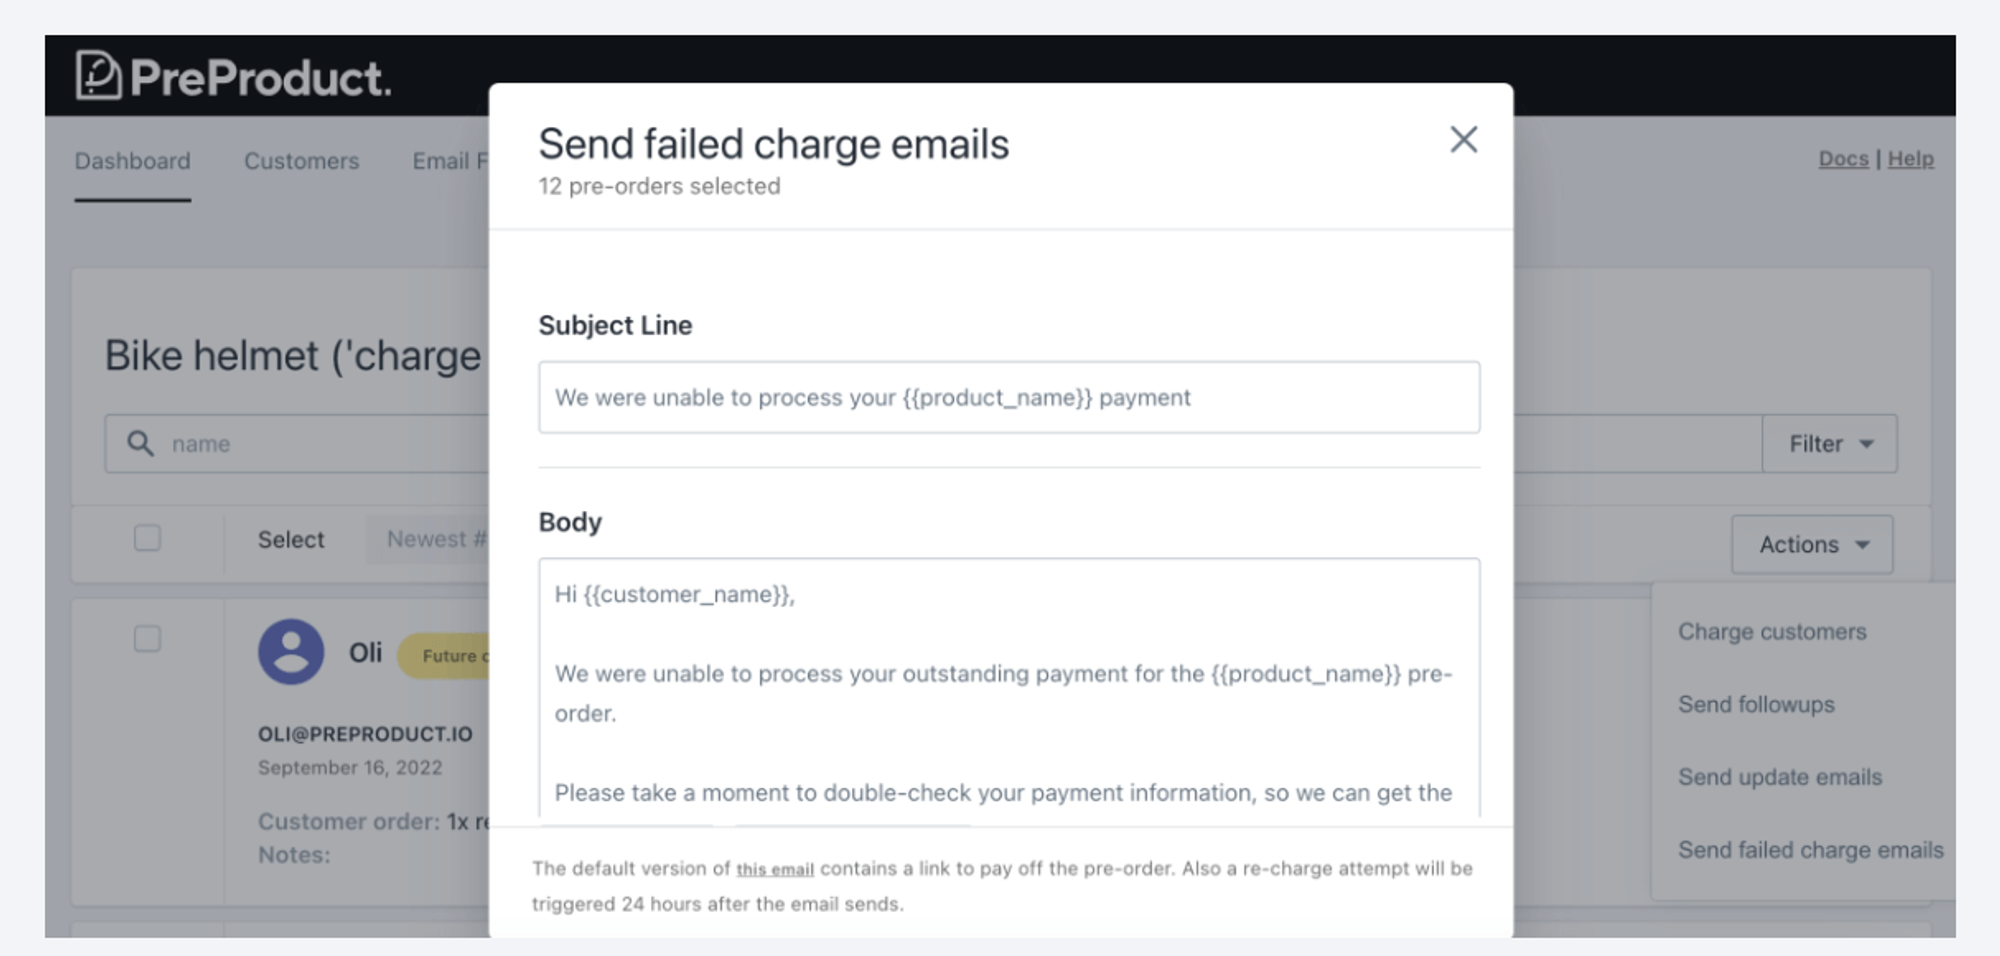
- Using a pre-order app can be a good way to go and will also allow you to collect pre-orders in advance before the product is available, allowing you to manage customer expectations and charge on your terms (whether that be charging upfront when the pre-order is placed, collecting a deposit, or charging the full amount at a later date when you are ready).
- Email newsletters/SMS broadcasts as well as updating information on your website can all be helpful to promote and communicate to customers when the limited drop will be released. Here you can also explain why the new drop is special/unique and create a buzz around the new product.
- One trick for SEO and Google ranking is to launch the landing page in a ‘placeholder’ state weeks/months before the drop goes live. This is a way to give Google a chance to rank the page ahead of you promoting it and starting to take sales.

Leveraging social proof and scarcity
- Both the psychology of scarcity and social proof plays a significant role in influencing consumer behavior and can be powerful tools to boost sales. Limited drops are a perfect situation to put some of these dynamics to work.
Scarcity:
Scarcity is the principle that limited availability increases perceived value. When something is perceived as scarce or in short supply, people tend to assign it higher value and are more motivated to acquire it. Here’s how scarcity influences consumer behavior:
- Urgency and FOMO (Fear Of Missing Out): Scarcity creates a sense of urgency, triggering the fear of missing out. Consumers are more likely to make a purchase when they believe the opportunity is time sensitive, leading to quicker decision-making.
- Perceived value: Limited availability often increases the perceived value of a product or service. Customers may feel that they are getting something exclusive or special, which justifies a higher price point.
- Competitive advantage: Brands can gain a competitive advantage by strategically employing scarcity. Limited editions, time-limited promotions, and low stock notifications are common tactics.
Social proof:
Social proof is a phenomenon in which individuals observe and consider the actions and behaviors of others as a guiding influence on their own decision-making processes. When individuals see that others are engaging with a product in a positive manner, they are more likely to purchase said product. Here’s how social proof contributes to boosting sales:
- Trust and credibility: Positive reviews, testimonials, and user-generated content create a sense of trust and credibility. When potential customers see that others have had a positive experience, they are more likely to trust the brand and make a purchase.
- Influence on decision-making: Our decisions are often influenced by the behavior of those around us. If a product is popular or endorsed by either someone the potential customers trust or a significant number of people it signals to potential customers that it’s a worthwhile choice.
- Reducing uncertainty: Social proof helps reduce the perceived risk of making a purchase. When individuals see that others have successfully used a product, it minimizes uncertainty and increases confidence in their own decision.
- Word-of-Mouth marketing: Positive experiences shared by customers through word-of-mouth or online reviews can serve as powerful marketing tools. Recommendations from friends, family, or online communities carry significant weight.

Integrating scarcity and social proof into sales strategies can be highly effective. For instance, presenting a product with limited availability and emphasizing its positive reviews not only creates a sense of urgency but also strengthens trust and credibility.
Capturing pre-orders
Pre-orders are where a store allows customers to reserve and purchase a product before it is officially in stock or available for general sale. This approach serves multiple purposes, including gauging interest, and generating buzz.
Here’s how pre-orders can achieve these objectives:
Gauging demand:
- Early interest measurement: Pre-orders provide a tangible way to measure initial interest and demand for a product.
- Market validation: A high number of pre-orders can validate the market appeal of a product. It helps brands ascertain whether there is a sufficient customer base willing to commit to a purchase before the product is physically available.
- Inventory planning: By gauging interest through pre-orders, brands can also make more informed decisions about how much inventory to produce for future releases to limit waste and optimize supply chain management.
Generating excitement:
- Anticipation and buzz: The concept of pre-orders creates anticipation and buzz around a product. It allows businesses to build excitement by highlighting features, benefits, or exclusive offerings associated with pre-orders.
- Exclusive incentives: Offering exclusive incentives for pre-orders, such as early access, special pricing, or limited-edition bonuses, adds a feeling of excitement. Customers feel a sense of privilege and exclusivity by being among the first to acquire the product.
- Marketing opportunities: Pre-orders provide a natural opportunity for marketing campaigns. Brands can utilise the period leading up to the official release to engage with their audience, share teasers, and create a narrative around the product. They also let you effectively launch twice; once when pre-sales go live and once when buy-now sales do.
- Customer engagement: The pre-order phase encourages customer engagement as potential buyers express their interest and commitment. This engagement can extend to social media, reviews, and discussions, further increasing the product’s visibility.
- Building brand loyalty: Customers who participate in pre-orders may develop a stronger connection with the brand. Their early commitment reflects a level of trust and loyalty, especially if the pre-order experience is positive and seamless.

Implementing a limited drop on Shopify
Setting up product listings in Shopify (step by step guide)
- Step 1: Go to the Products section on your Shopify Admin.
- Step 2: From the Products page, click Add product.
- Step 3: Add a Title (include limited edition statement)
- Step 4: Include a Description (ensure you include further information about the limited edition drop)
- Step 5: Add Images.
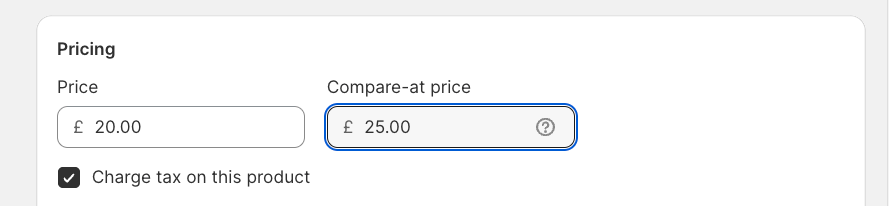
- Step 6: Include Pricing.
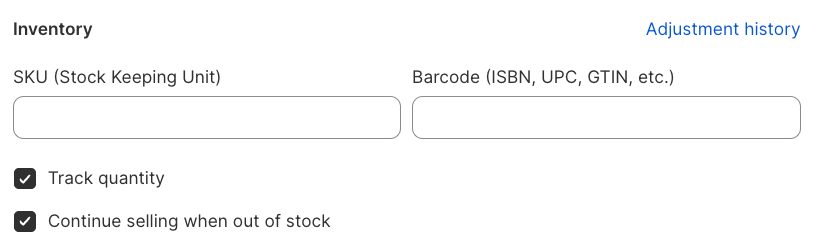
- Step 7: Enter your Inventory.
- Step 8: Add Shipping Details.
- Step 9: Enter Variants.
Using a pre-order app to run limited edition drops
As mentioned previously using a Pre-order app can be beneficial when running limited edition campaigns.
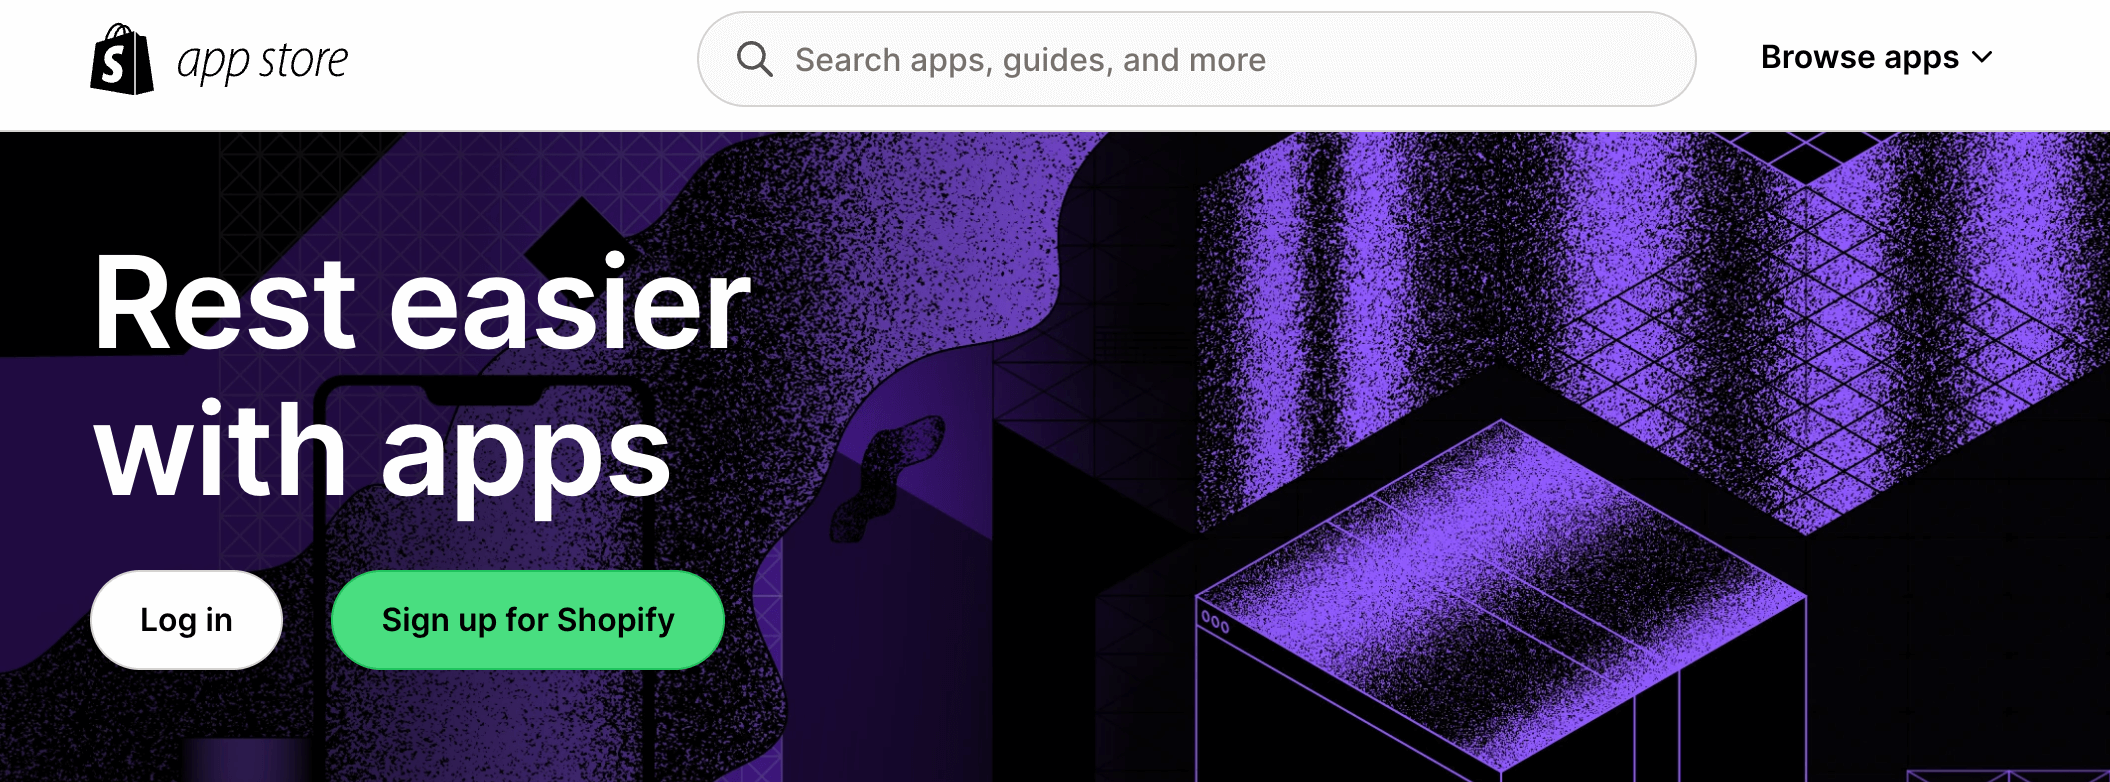
To initiate the process of setting up pre-orders on Shopify, begin by navigating to the Shopify App Store. Perform a search for “pre-order” and choose the desired app for installation.
After identifying the app, click on it to access its listing page, and opt for the “Add app” selection.
Grant the app permission to access your Shopify admin account by clicking “Install app” and providing authorization for its use.
Next you will need to integrate the app with your theme, the app you choose should provide step-by-step instructions.
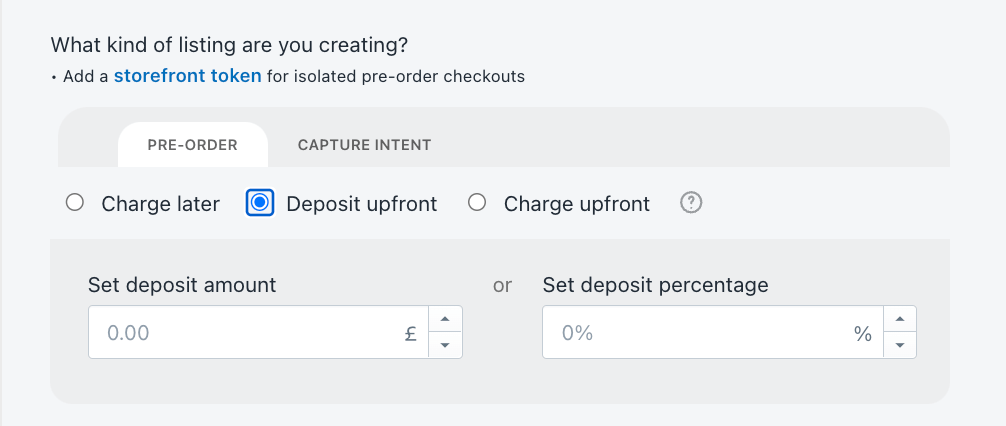
Once the app is integrated, you will be able to now list the limited edition product/s for preorder in your chosen app. You will be able to choose what kind of preorder to offer based on what will best suit your specific online shop. Options include; Charge later, Charge up-front or Deposit based. You will be also able to add additional information/messaging regarding the product being a limited edition drop etc.
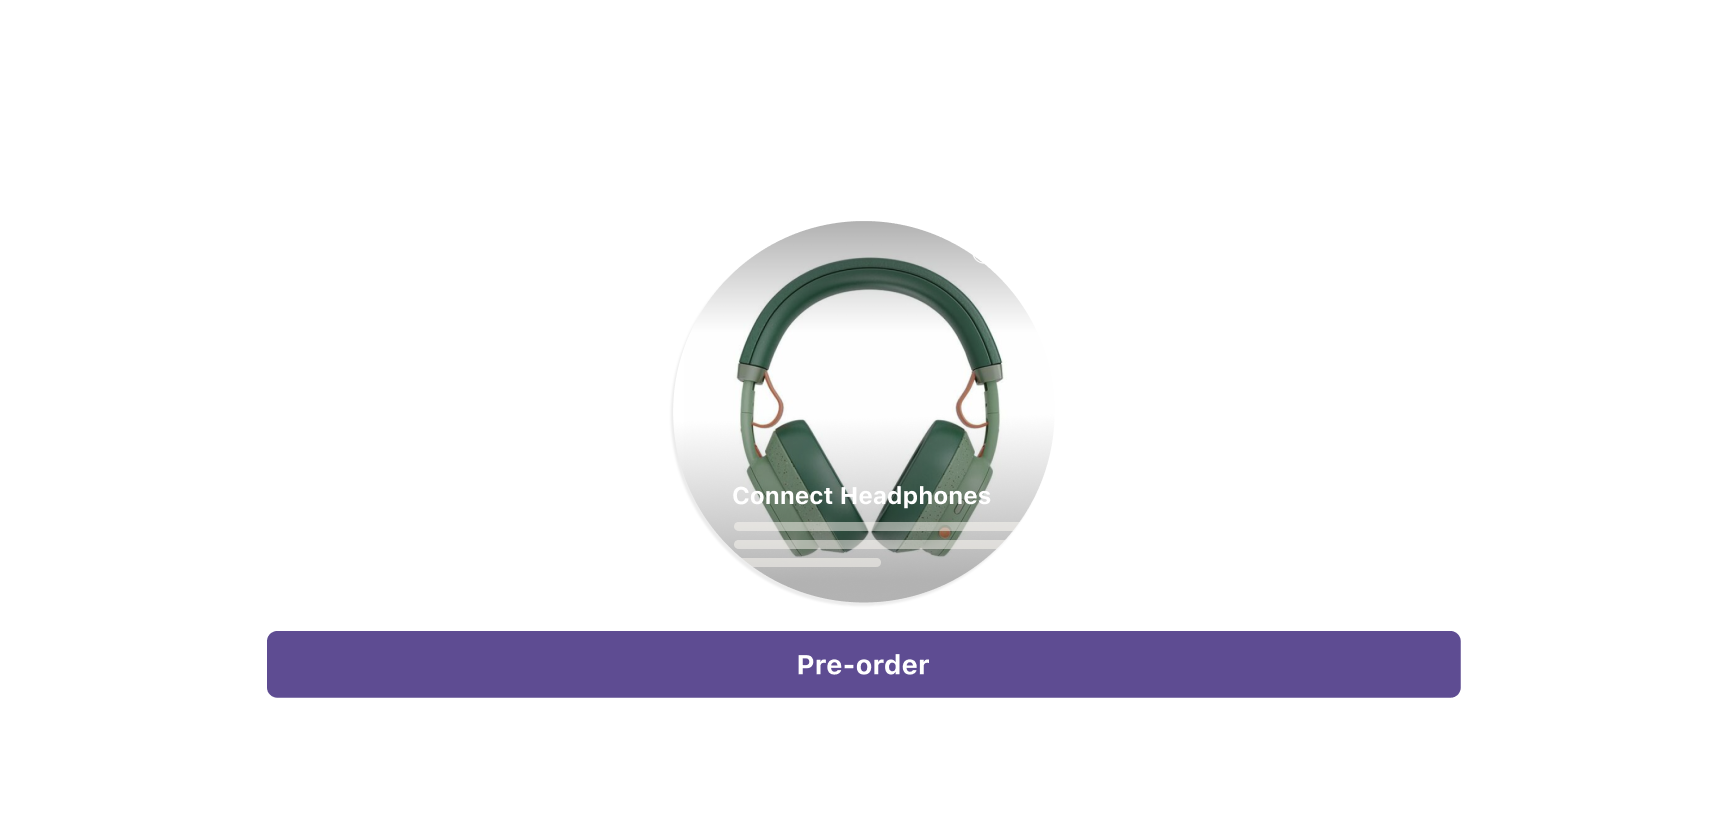
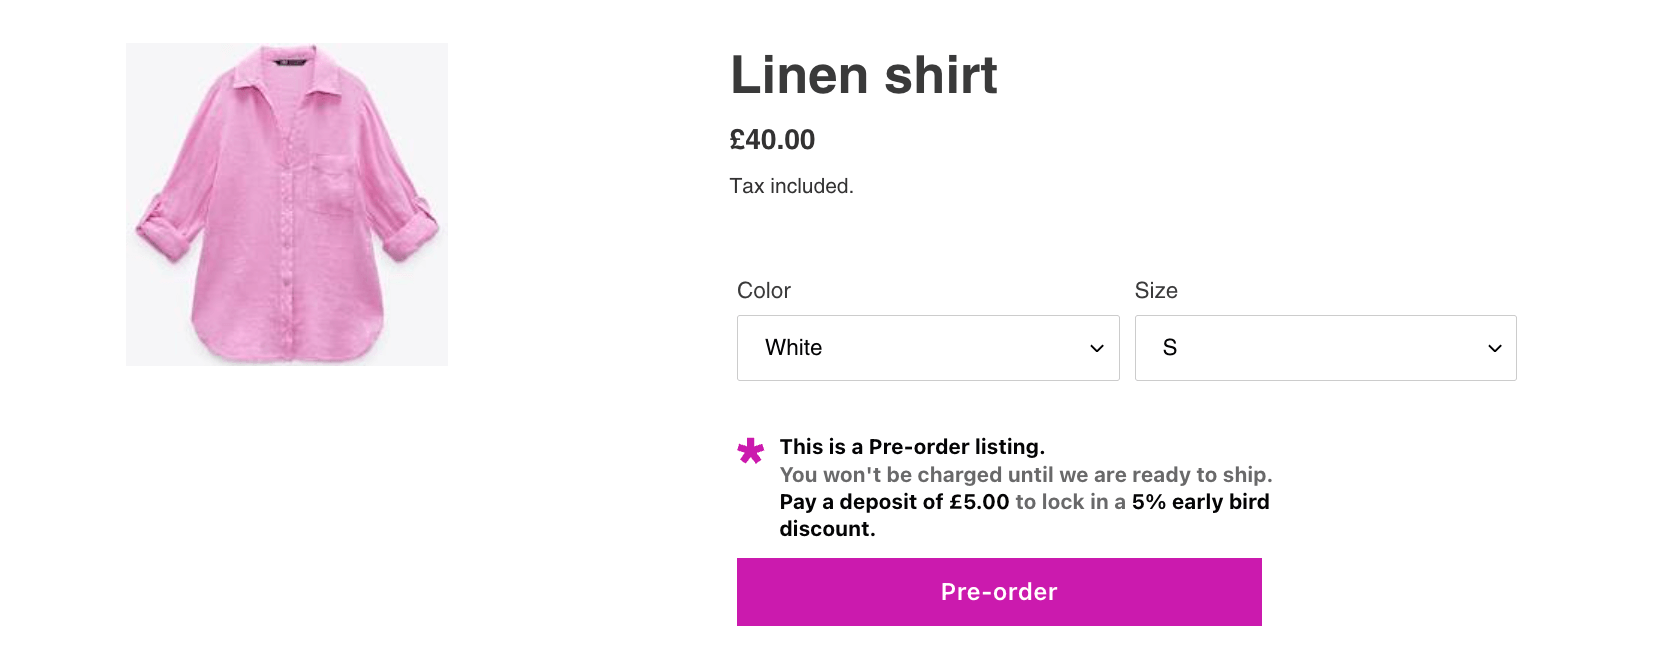
After listing the product in the app, the pre-order product page’s cart button text should be replaced with a pre-order button.
Managing inventory
- Accurate inventory management is crucial for the overall success and efficiency of a business. Here are several reasons highlighting the importance of maintaining accurate inventory:
- Meeting customer demand:
- Accurate inventory levels ensure that products are available to meet customer demand. This helps prevent product being out of stock, backorders, and unhappy customers who might turn to your competitors if the desired products are not available.
- Optimizing stock levels:
- Efficient inventory management allows brands to optimize stock levels. Maintaining the right amount of inventory helps prevent overstocking and under stocking.
- Cost control:
- Accurate inventory management contributes to cost control. Overstocking ties up funds in unsold goods, while understocking can result in a reduction in sales/revenue.
- Meeting customer demand:
Who does it best? Learning from past successful limited edition drops
Case studies
Below are some examples of brands who have successfully used limited edition drops to sell more, and increase revenue.
Supreme
- Supreme, a streetwear brand, regularly releases limited edition clothing items. The scarcity of these products, combined with strategic collaborations and unique designs, has made Supreme a highly sought-after brand. Their limited drops generate significant hype and often sell out quickly.
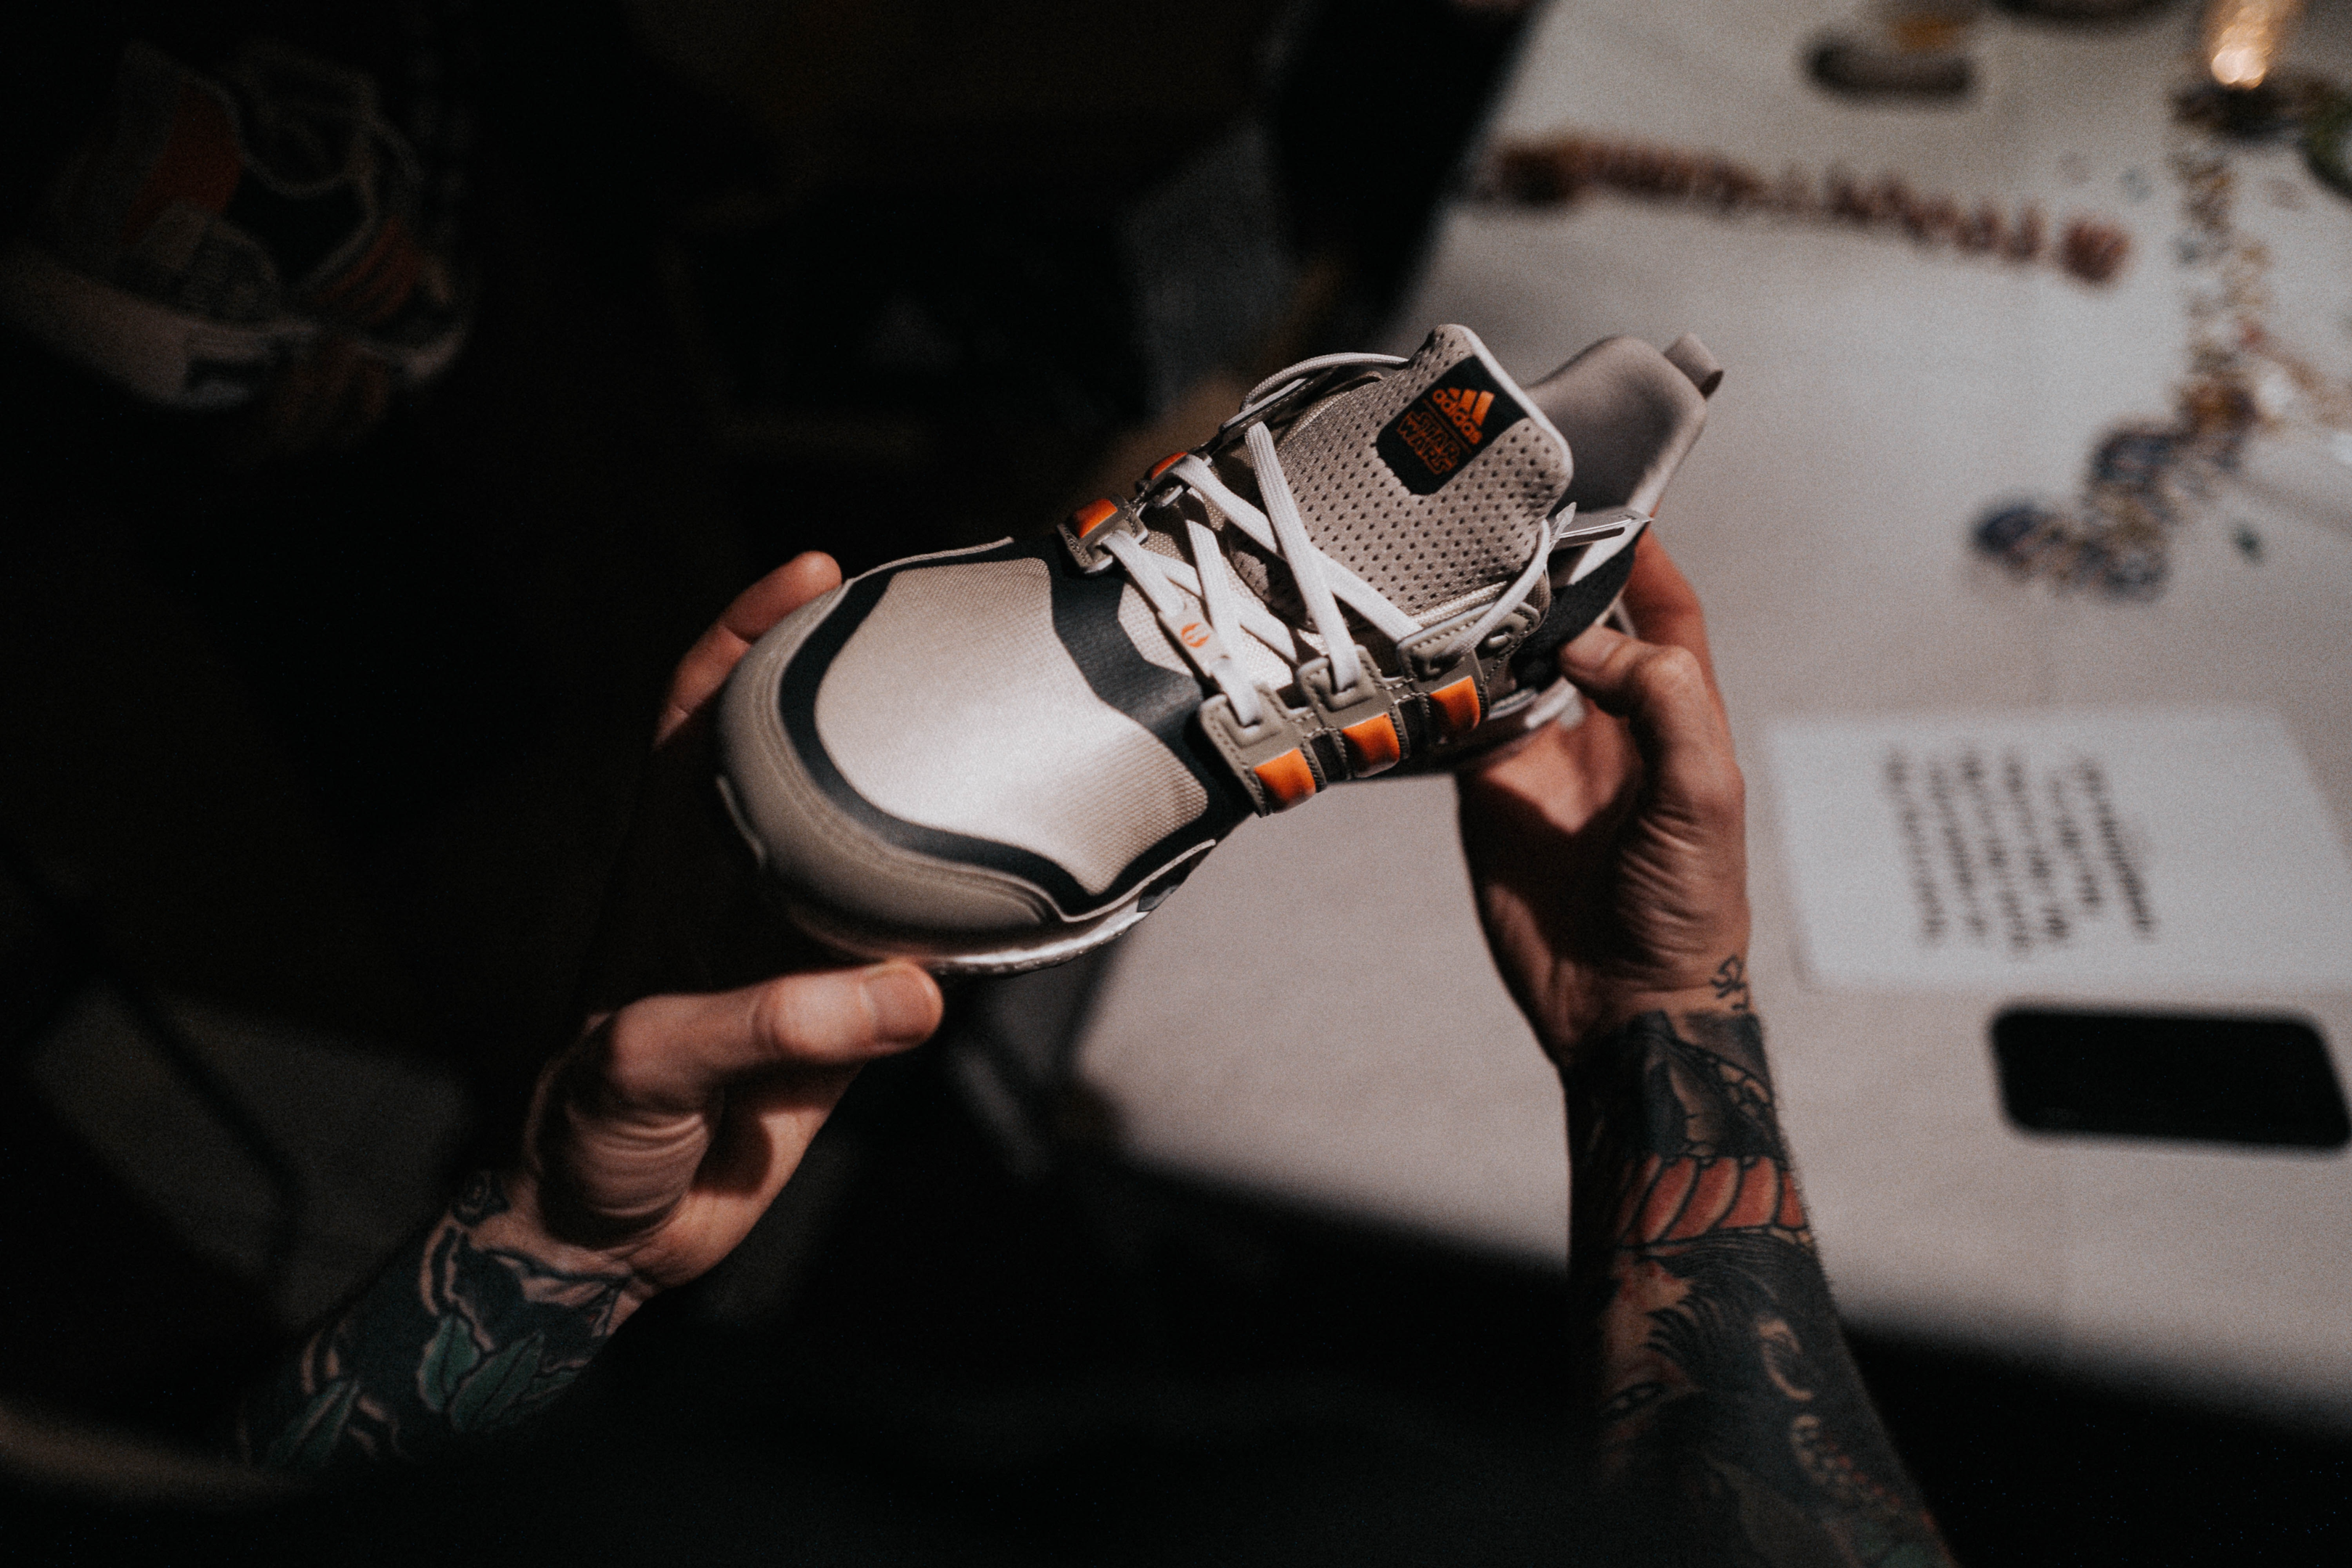
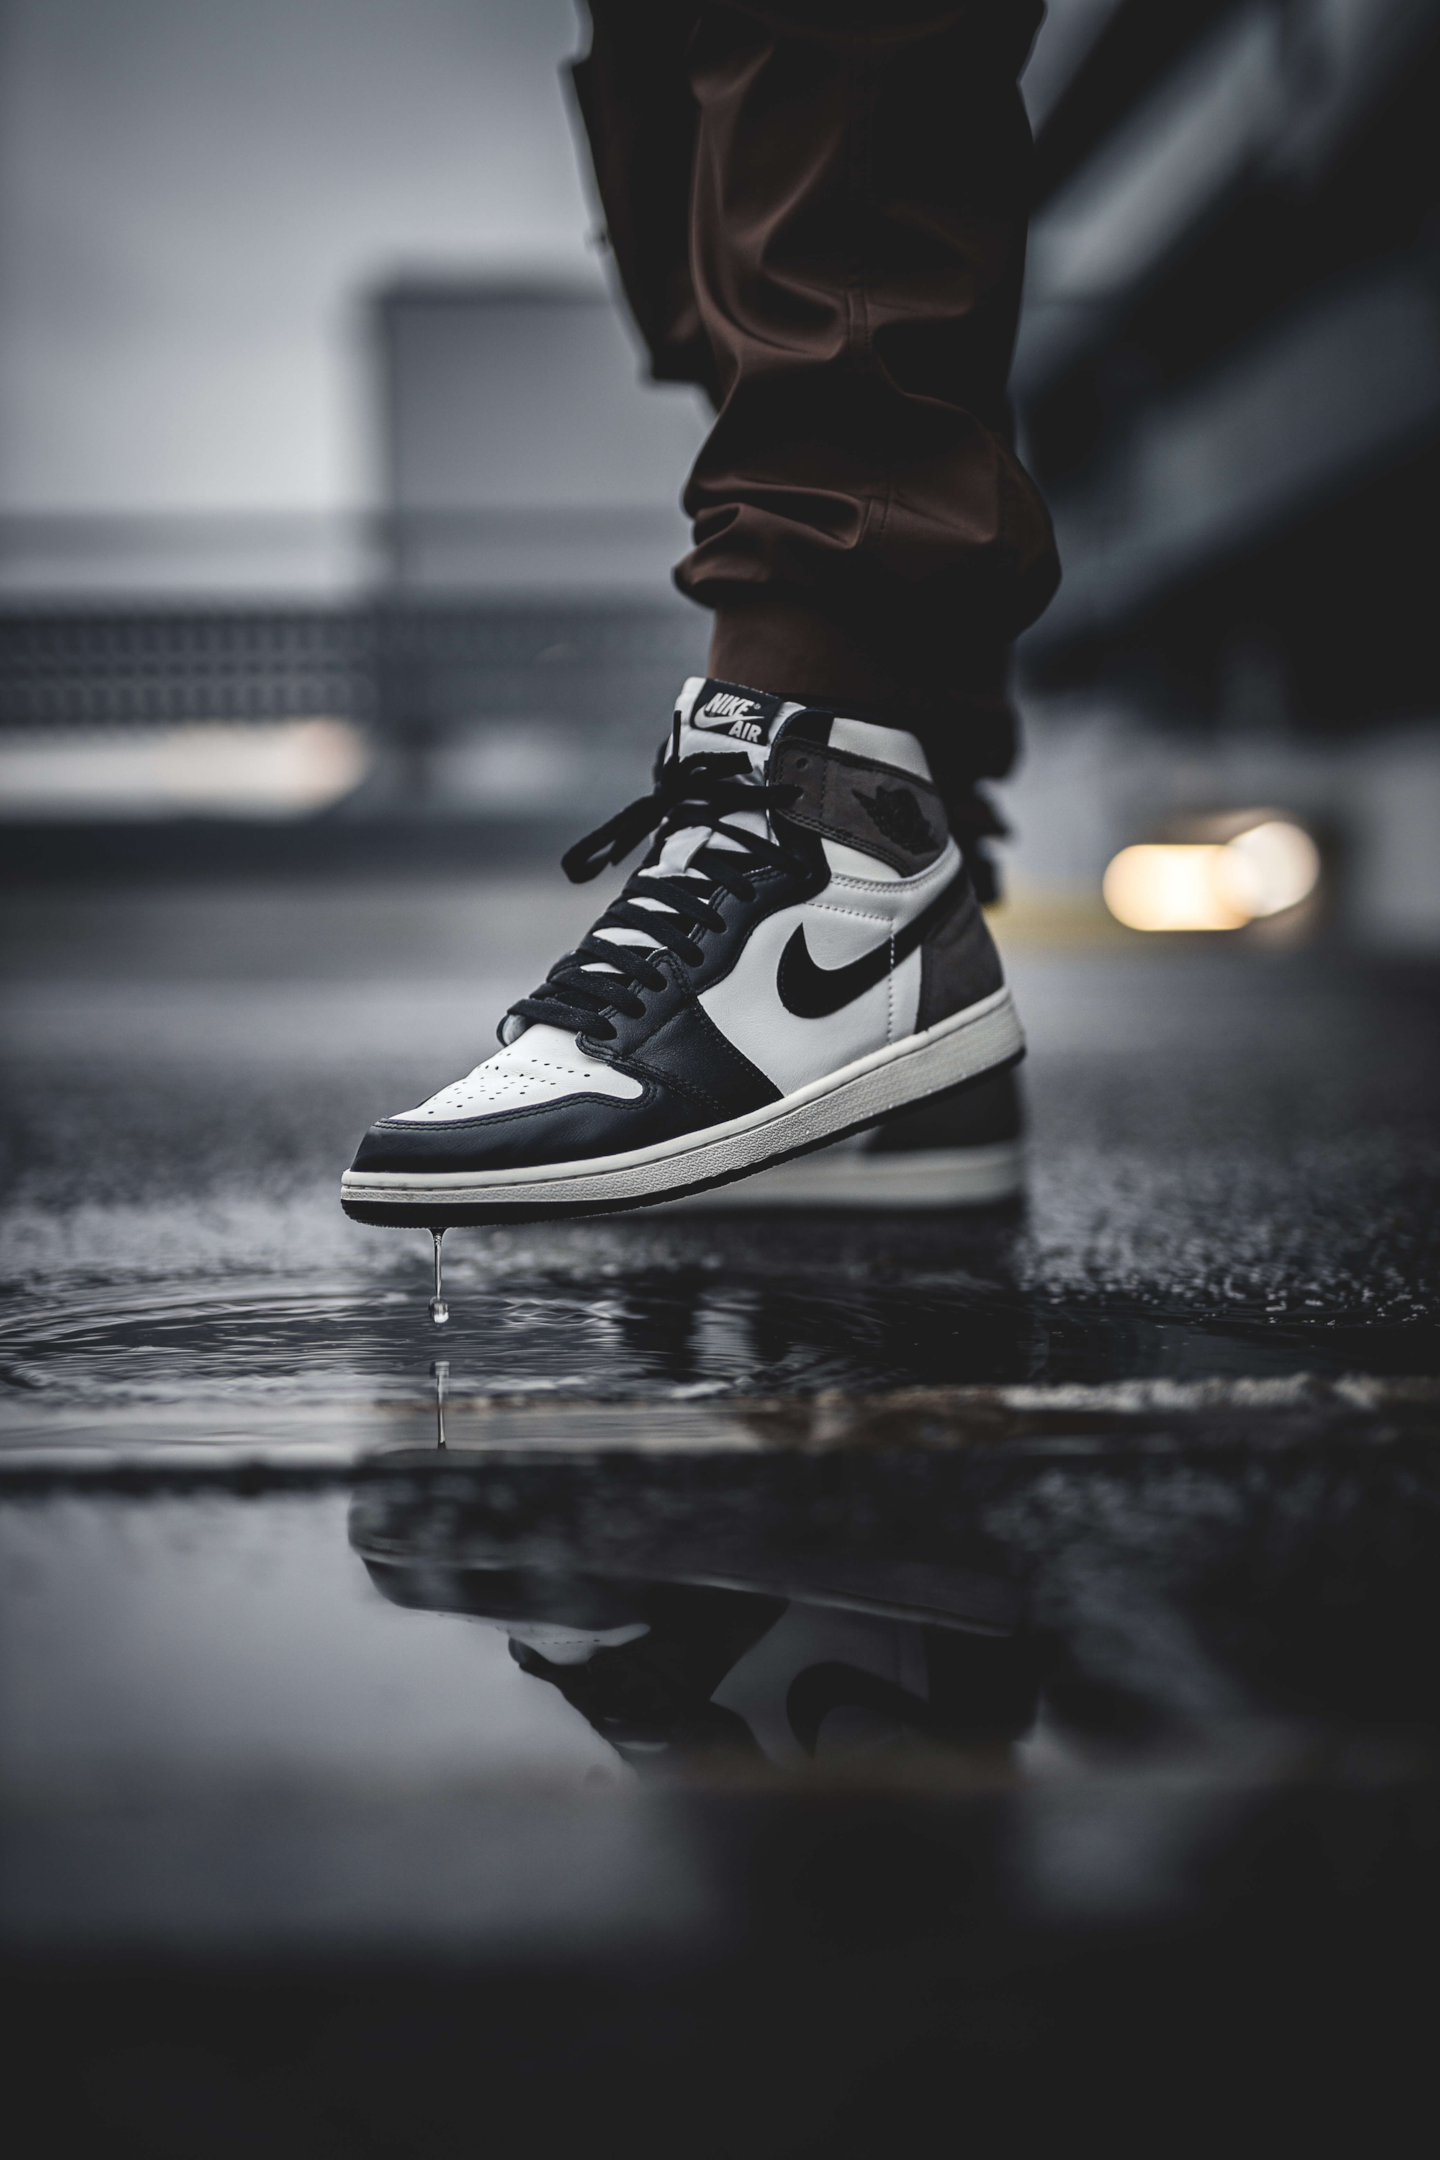
Air Jordan
- Nike and its subsidiary, Jordan Brand, are well-known for their limited edition sneaker releases. The Air Jordan line often features exclusive colorways, collaborations with artists and designers, and limited quantities. This strategy has helped create a devoted sneakerhead community and maintain high interest for their products.
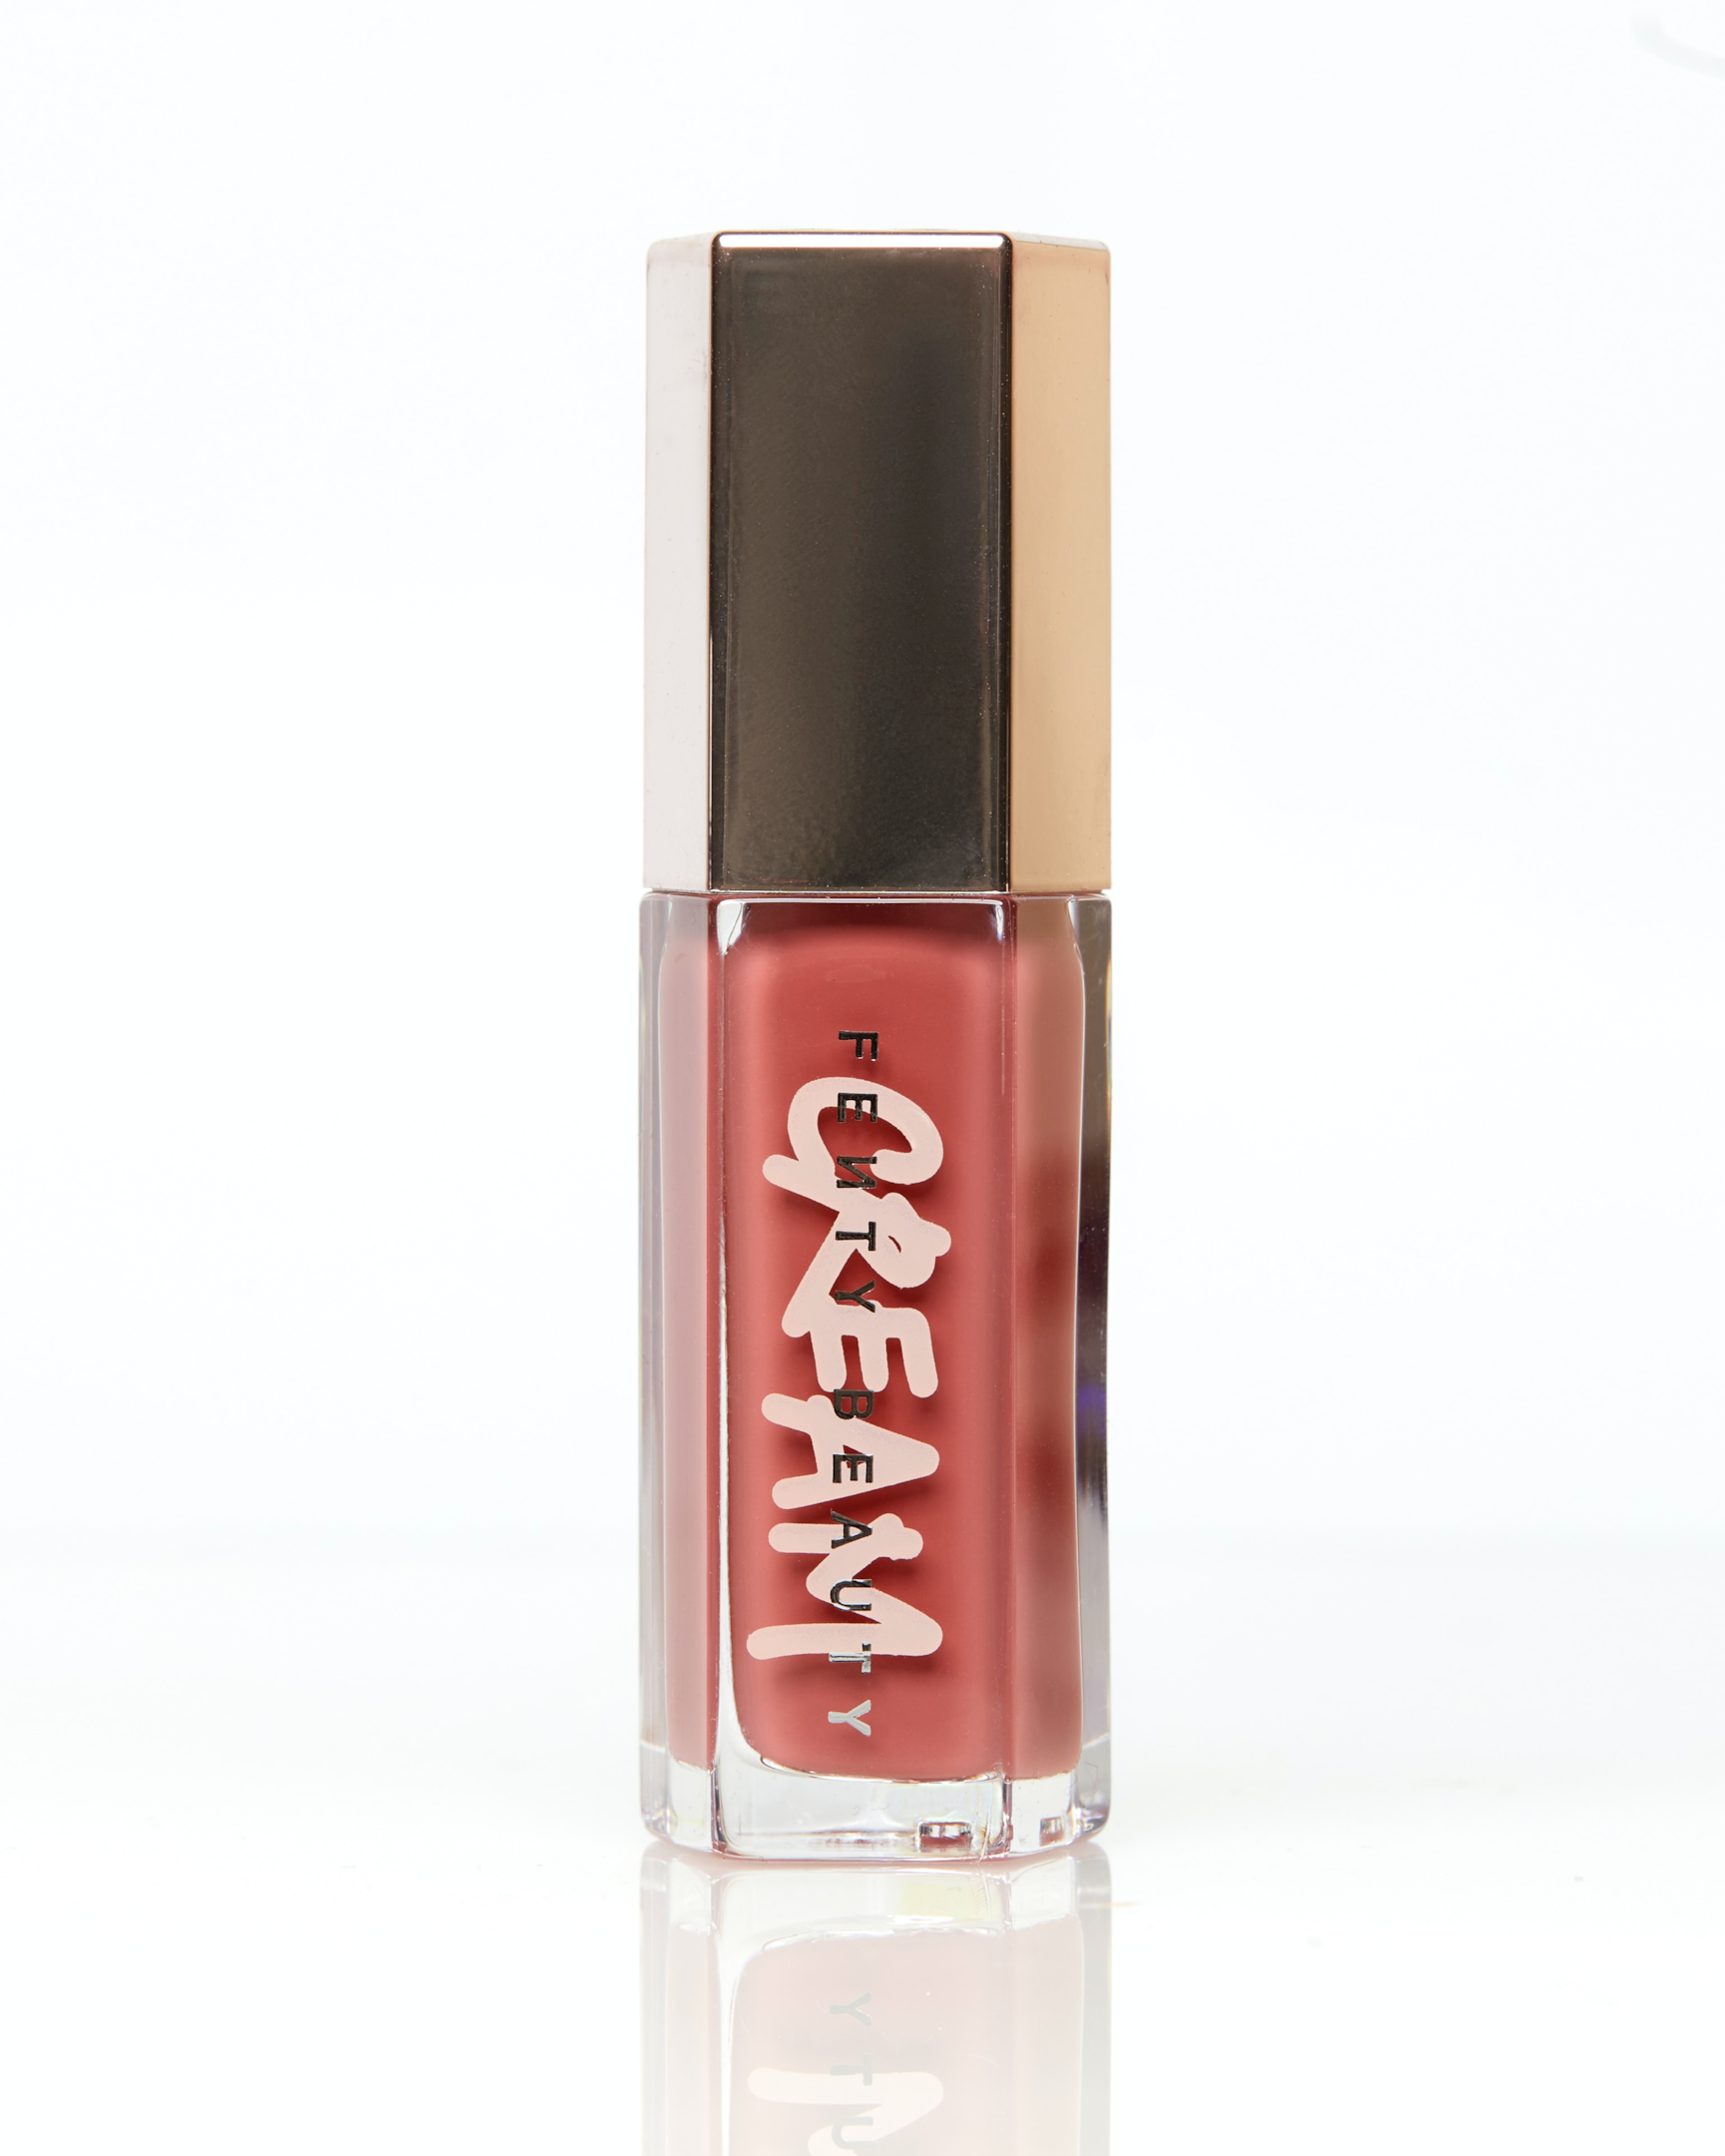
Fenty Beauty
- Rihanna’s Fenty Beauty brand has achieved considerable success through the strategic use of limited edition drops. The brand consistently releases distinctive collections and engages in collaborations with influencers and celebrities, cultivating an aura of exclusivity that captures consumer attention.
Maximizing revenue with limited edition drops
Pricing strategies
Pricing plays a crucial role in creating perceived value and exclusivity for products and services. The way a product is priced can significantly influence consumer perceptions, shaping their opinions about the quality, exclusivity, and overall value of what is being offered.
Here are key aspects of the role of pricing in establishing perceived value and exclusivity:
- Limited edition pricing:
- Products released as limited editions often come with a premium price. The scarcity of these items, coupled with the notion that they are unique and exclusive, justifies a higher cost. If utilising limited edition drops, then it makes sense to also implement limited edition pricing as this contributes to the perception that the product is a rare and highly desired possession.
- Premium pricing for exclusivity:
- Setting your prices at a higher rate can assist in creating a the feeling of exclusivity and high quality. Consumers often associate a higher price with better craftsmanship, materials, and overall product excellence.
- Pricing tiers and tiered offerings:
- Offering different pricing tiers allows brands to more efficiently capture value from their various customer segments. By providing more premium or exclusive versions of a product at a higher price, companies can appeal to consumers seeking a more elevated experience or additional features.

Upselling and cross-selling
Utilising upselling and cross-selling (using an app like Adoric) during a limited edition drop can be very potent and result in increased purchases and revenue. Below are some steps to ensure you effectively utilise upselling and cross-selling;
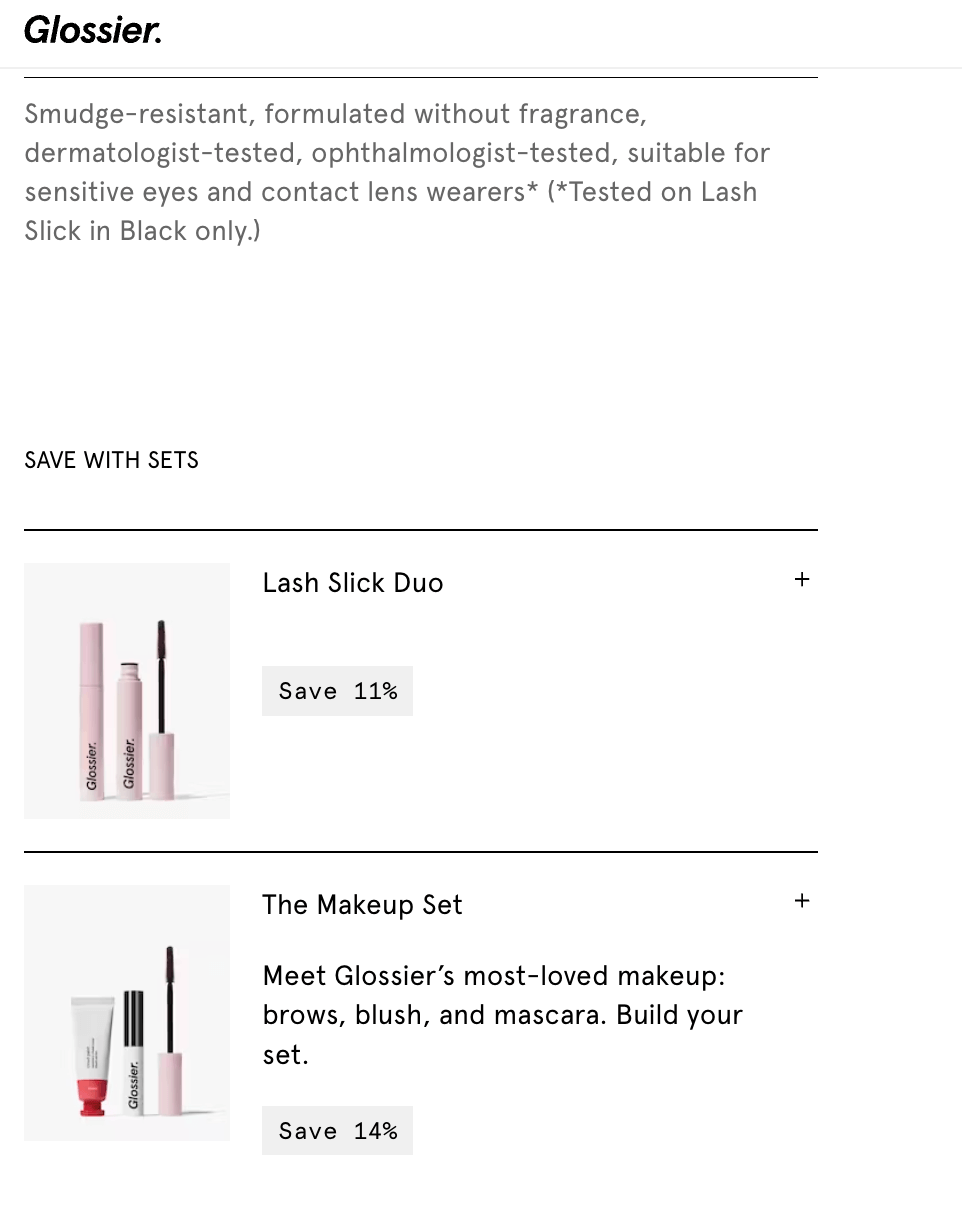
- Create bundles or sets:
- Bundle the limited edition item with related items, creating sets that offer additional value. For example, if the limited edition product is a clothing item, offer a bundle with matching accessories or complementary items. Clearly communicate the value of purchasing the set.
You can even use a combined listings app like LinkedOption to offer many Products from the same page without bundling them.
- Bundle the limited edition item with related items, creating sets that offer additional value. For example, if the limited edition product is a clothing item, offer a bundle with matching accessories or complementary items. Clearly communicate the value of purchasing the set.
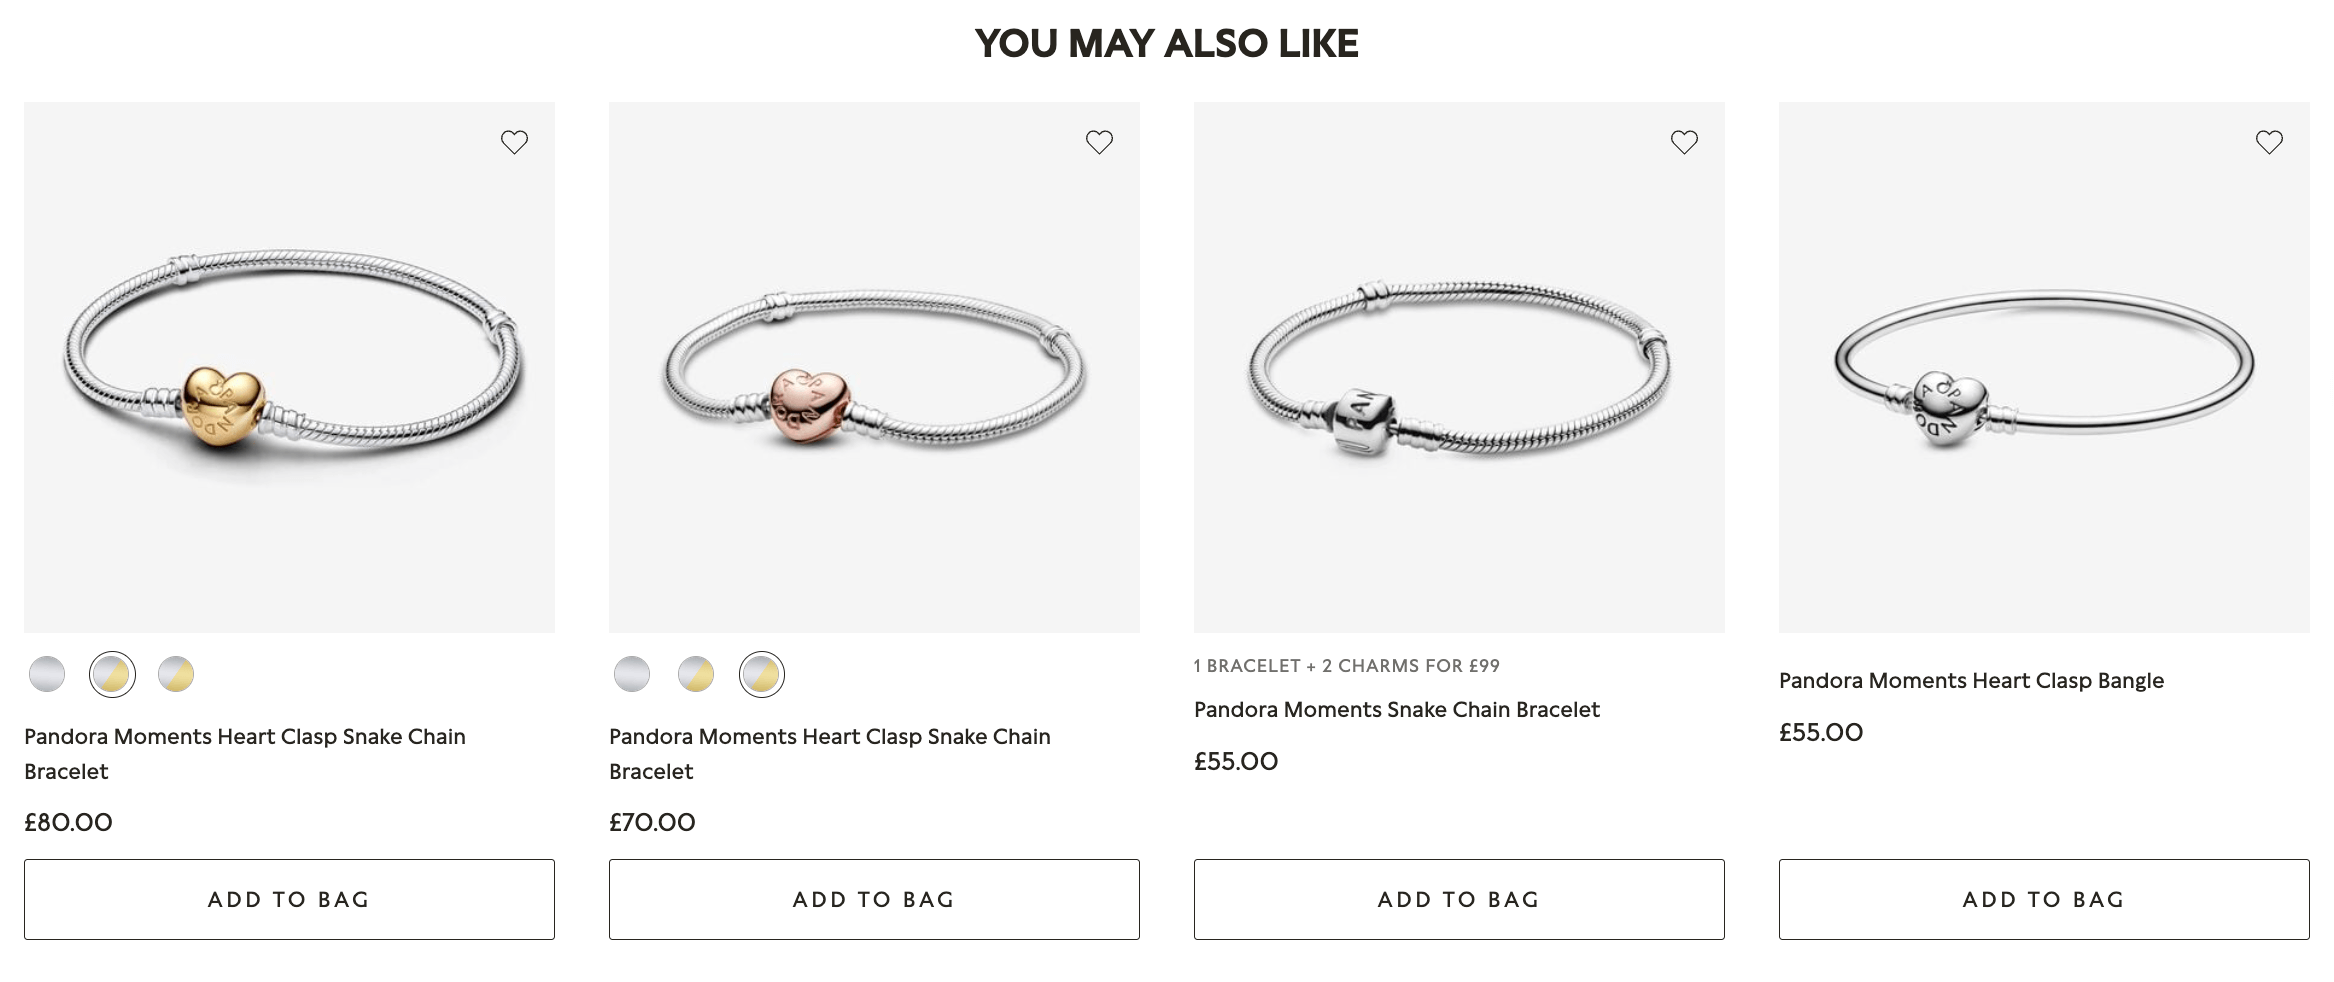
- Strategic product placement:
- Display related items prominently on the product page of the limited edition item. Use visually appealing layouts and compelling copy to draw attention to the complementary items. Highlight the benefits of purchasing the additional items alongside the limited edition product.
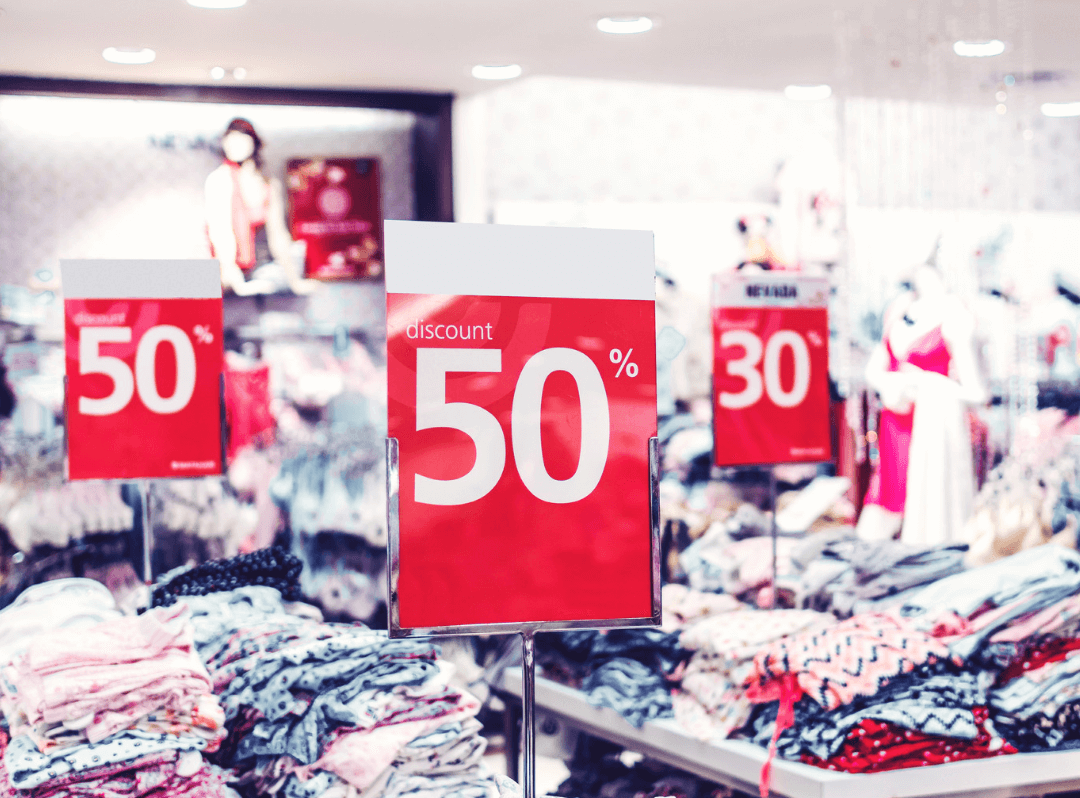
- Limited-time promotions:
- Introduce time-sensitive promotions for related products during the limited edition drop. For example, offer a discount on a second item if purchased within a specific timeframe. This creates a sense of urgency and encourages customers to make additional purchases.
- Personalized recommendations:
- Leverage customer data and artificial intelligence to provide personalized recommendations. Tailor product suggestions based on the customer’s purchase history, preferences, and browsing behavior. This enhances the relevance of upsell and cross-sell offers.
Summary
Limited edition drops can be a very effective strategy for Shopify store owners. They can be used for many different types of products, allowing merchants to create hype, boost revenue and launch with a splash.
In this article, we explored proven strategies that can elevate the success of your upcoming limited edition launch. If there’s any we’ve missed, please reach out as we’d love to hear them.
Limited edition FAQ
Can you use Shopify for limited edition clothing drops?
Yes you can use Shopify for limited edition clothing drops, you can either run these normally via your usual product template, or you can choose to use a pre-order app to assist you in running the campaign.
Do limited editions sell more?
Limited editions tend to have a higher demand, due to their perceived exclusivity and the fear of missing out.
Can I use pre-orders for a limited edition?
Yes we highly recommend the use of pre-orders for a limited edition release, in particular the utilisation of a pre-order app.
Do limited editions work?
Yes limited editions work, by leveraging scarcity and social proof they can build hype and excitement.
What are the benefits of limited editions?
Limited editions can increase sales, establish brand loyalty, foster growth and community as well as reducing financial risk and assisting overall business success.
Pre-sell With PreProduct
7 day free trial with all plans